
Our FIRST DIY Crosscut Sled! Plus our favorite Maker Videos! S1E33
This week, we build the first thing anyone should make when they get a table saw, a Cross Cut Sled! Plus, we’ll share a few of our favorite Maker Videos of the week. But first, it’s time for a Maker Break!
This week Rob made a cross cut sled! There are many complex designs out there, and he didn’t choose any of them. He instead aimed for the very basics for our very first one.
This Week’s Project – A Simple Cross Cut Sled
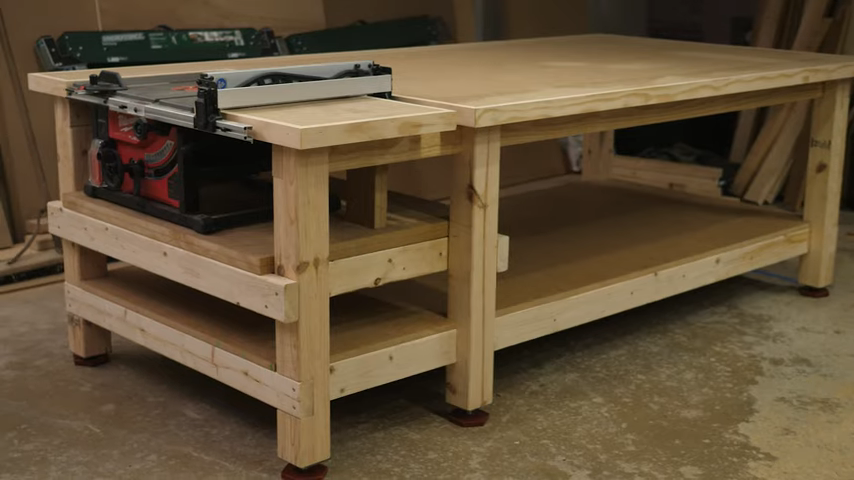
Now I’ve wanted a crosscut sled ever since I finished our Table Saw Workbench. The theory is with a square back fence, connected to a sled that runs on rails in the miter slots, you can get perfectly square cross cuts. Our miter saw can only cut up to 5.5”, so I figured now was a good time to make one.
Now there are a billion crosscut sled videos on Youtube, and some really brilliant designs that allow you to make complex mitered cuts. But baby steps… ok?
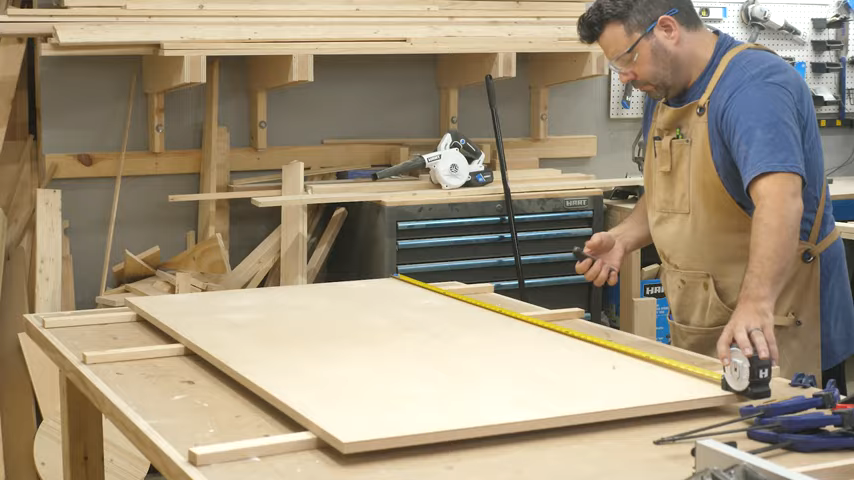
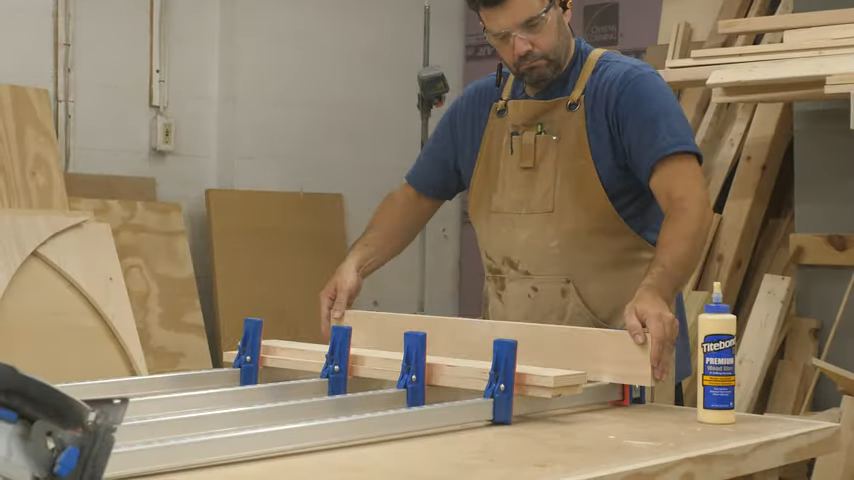
I started with a sheet of ¾” Birch Plywood. The good stuff. After I cut it in half I brought it to the table saw and cut 4 3.5” strips for my front and back fences. I used my new bar clamps to glue them together in pairs. This will make them 1.5” thick, and super solid.
After they dried, I ran them through the table saw again to give them a solid matching edge. Then I brought them over to the miter saw to cut them to length. I made a 28” back fence and a small front fence to hold the sled together after it’s cut.
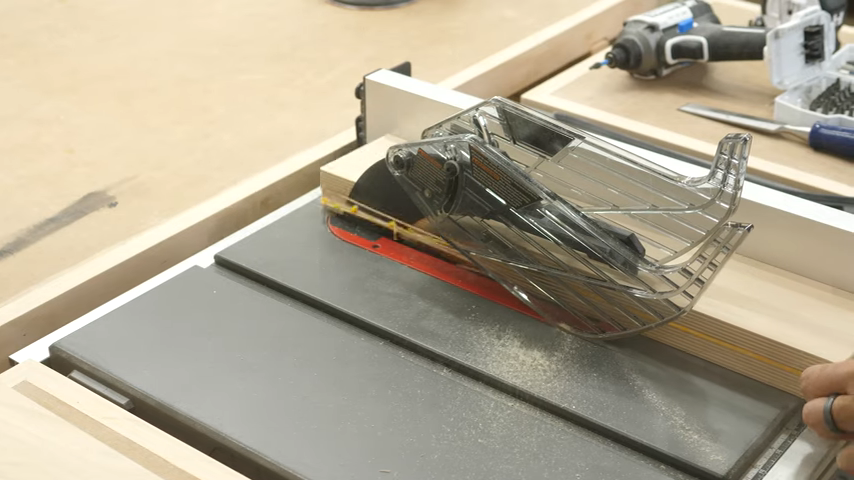
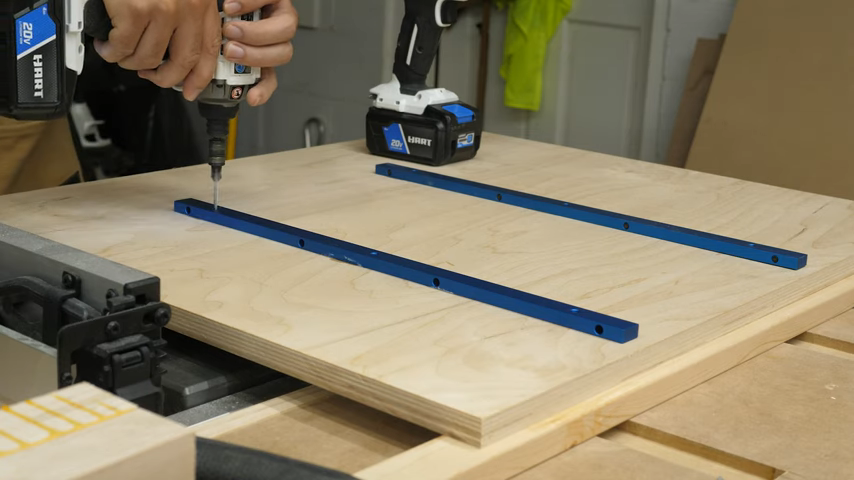
Next I needed to cut the sled. I used the same ¾” plywood. You really don’t want this to warp over time, so using thick plywood is a good idea. Now for the rails I used these Rockler aluminum versions with these clever nylon screws that allow you to make a really solid custom fit. Getting them just right wasn’t easy, but it paid off in the end.
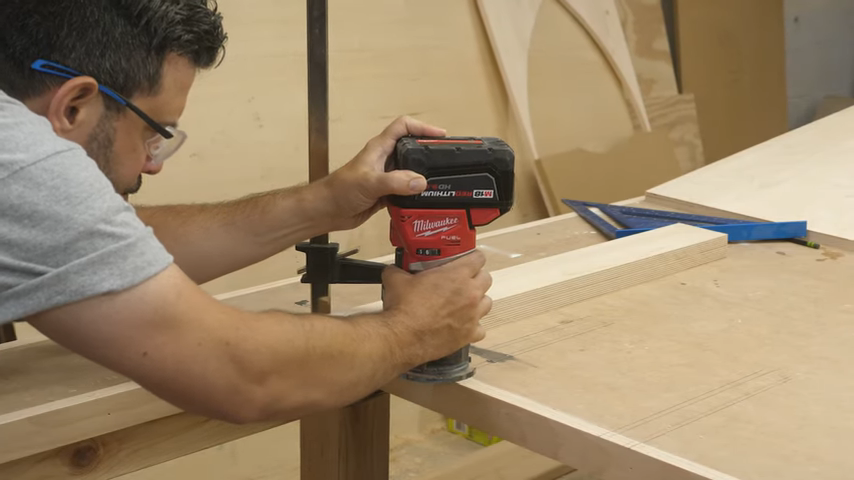
It was about this time that I realized I never cut miter slots into my workbench. So I got out the Milwaukee trim router, clamped up a guide and cut out the slots and they work just fine.
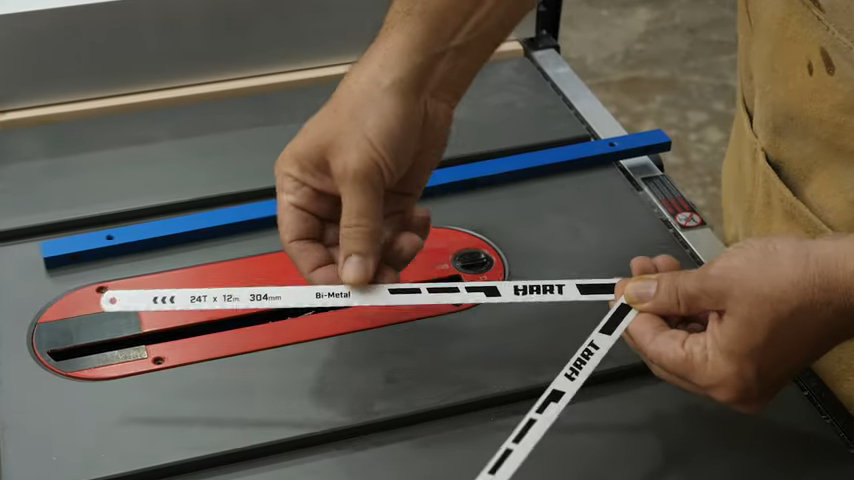
Finally it was time to attach the rails to the sled. You need the rails to sit slightly proud of the table top for this, and most people I saw online used coins. But not even dimes would fit in the Milwaukee slot. Fortunately I had some HART hacksaw blades that fit perfectly. I put two in each slot and that worked great.
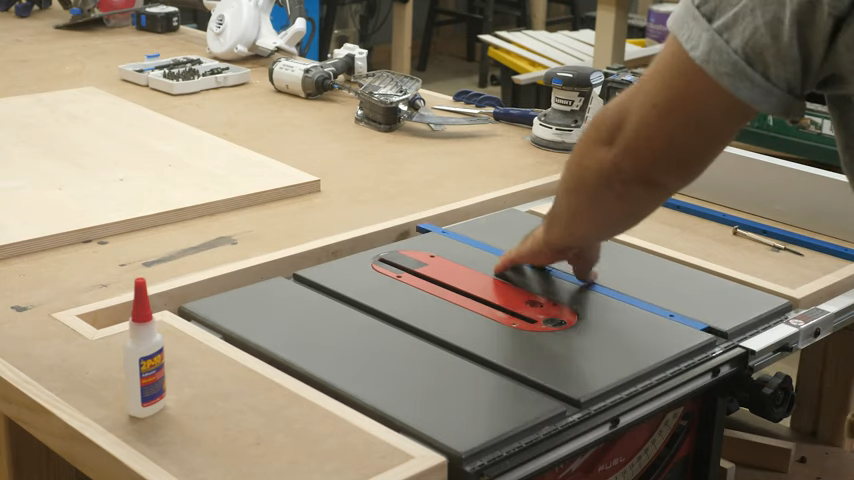
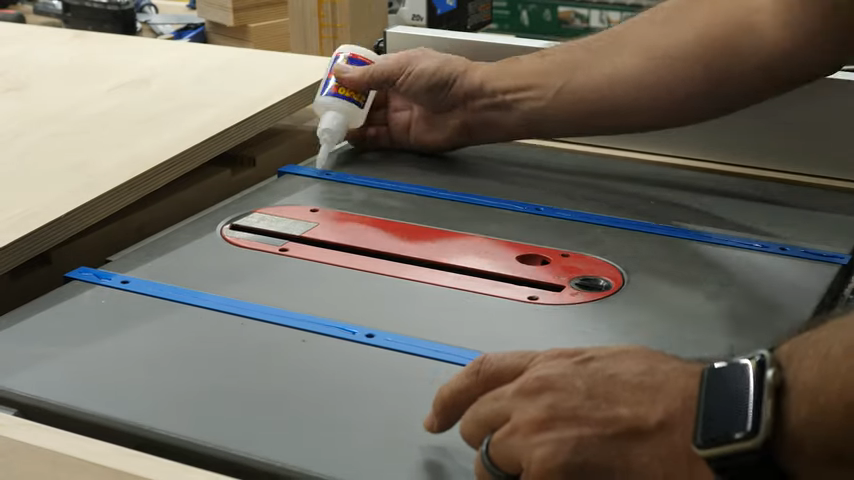
I applied some 2P-10 to the rails, and then used the fence to line up the sled with the table. I gave it a minute to dry, and then flipped the table over. Now to permanently attach the rails, I had to drill holes in the top of the sled, which meant drilling in the right spot.
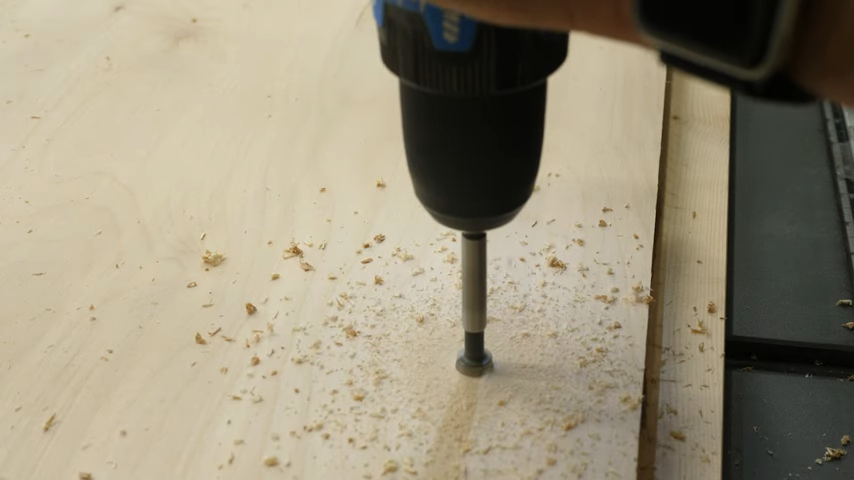
So first I drilled a few pilot holes through the holes in the rail doing my best to keep the drill perfectly vertical. Then I flipped the sled over and CAREFULLY used a forstner bit to drill out a counter sink for the bolts I was using. I didn’t have a big enough countersink, but the forstner bit did fine. I just had to be patient. Next I had to drill the ¼” holes for the bolts, being careful to keep it perfectly centered with the hole in the rail below.
I’ll be honest. I have no clue how I got this perfectly right 6 times, but I did. I carefully screwed in each bolt with my screw driver, and they all went in just fine. And it was sliding great! Time to add the fences.
The first was the front fence. This one essentially holds the piece together after you run the blade through it. I clamped it in place, and pre-drilled and counter sunk holes for my construction screws.
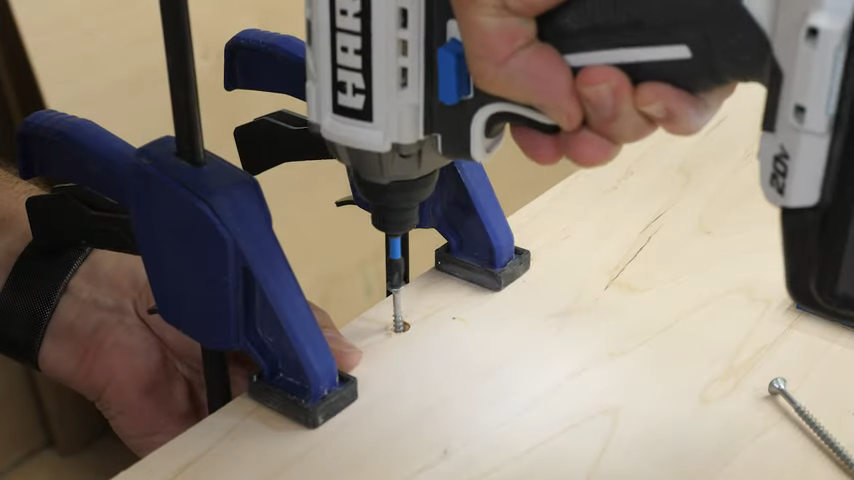
Now some of you might be cringing already. If you haven’t noticed, I just put the first screw in the middle of the fence, right where the blade will be going. Yup, I’m an idiot. I’ll get to that in a minute.
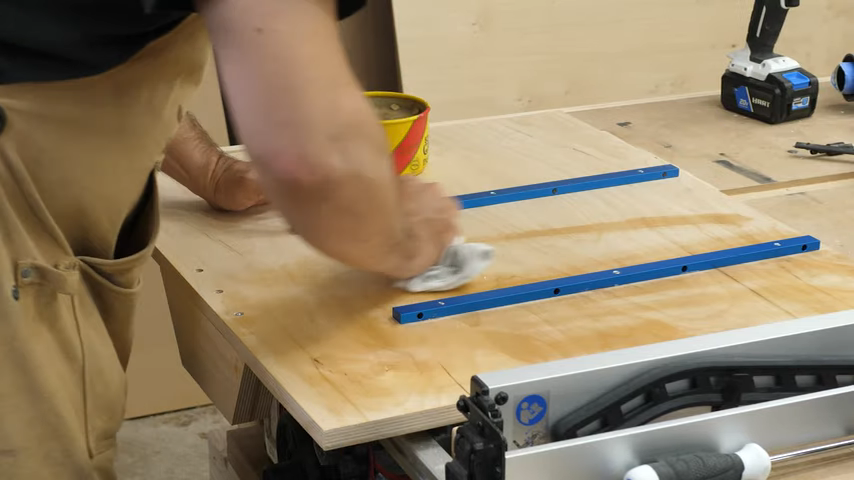
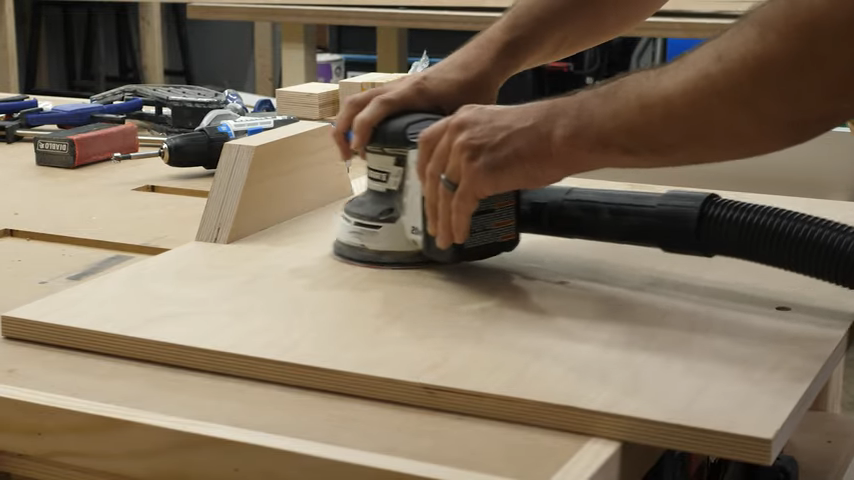
At this point I remembered that I was supposed to put paste wax on the bottom of the sled, so I did that. It immediately improved things. I also sanded the top a little to smooth over the holes I cut for the bolts.
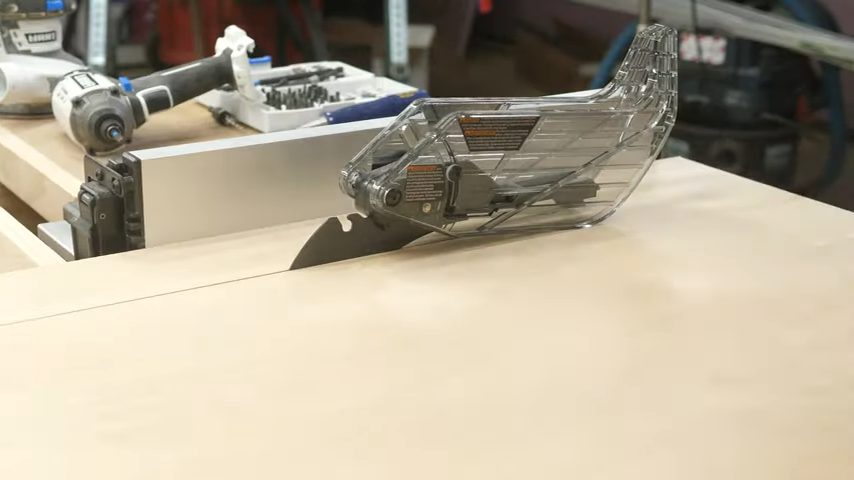
Then it was time to make my first cut through the sled. Fortunately, when I cut through it, It only BARELY clipped the edge of that screw I left in the middle, but I still removed it.
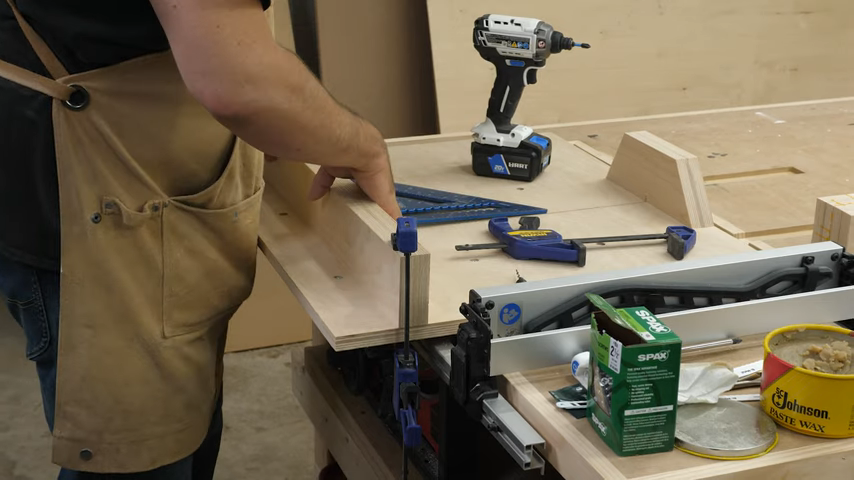
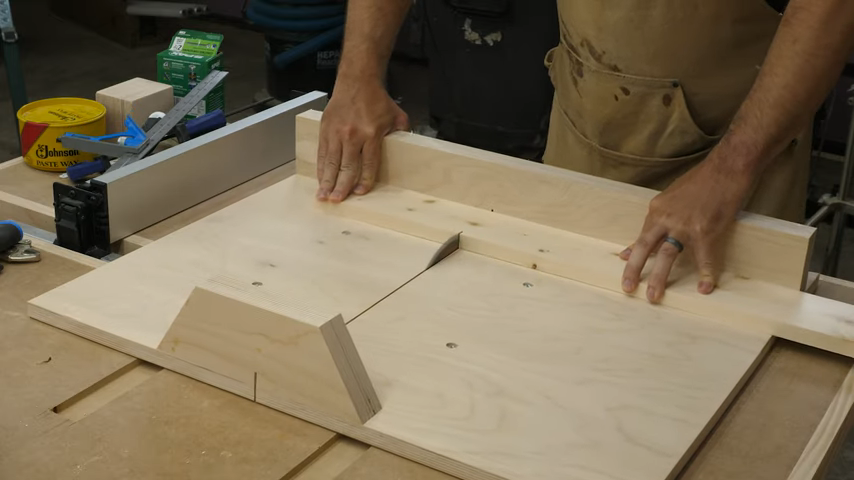
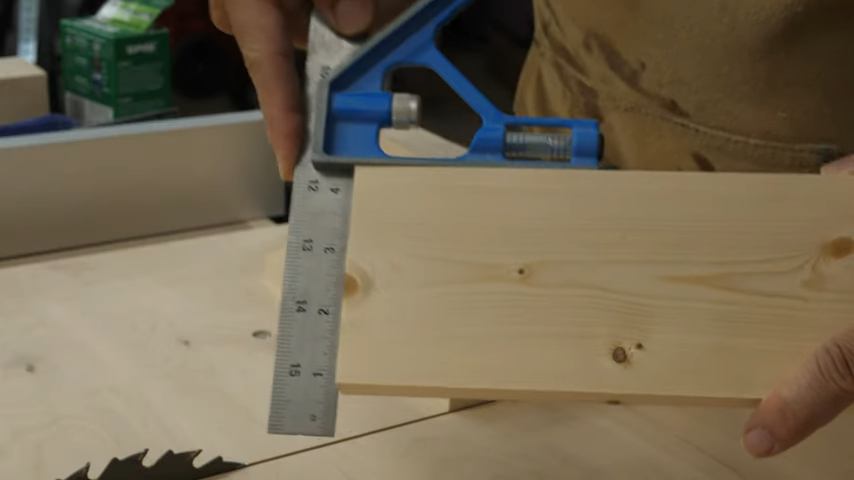
Now that I have the cut line in the wood, I was able to use a large square, and line up the back fence. This is the most important part. If the fence isn’t perfectly perpendicular to the blade, you won’t get square cuts.
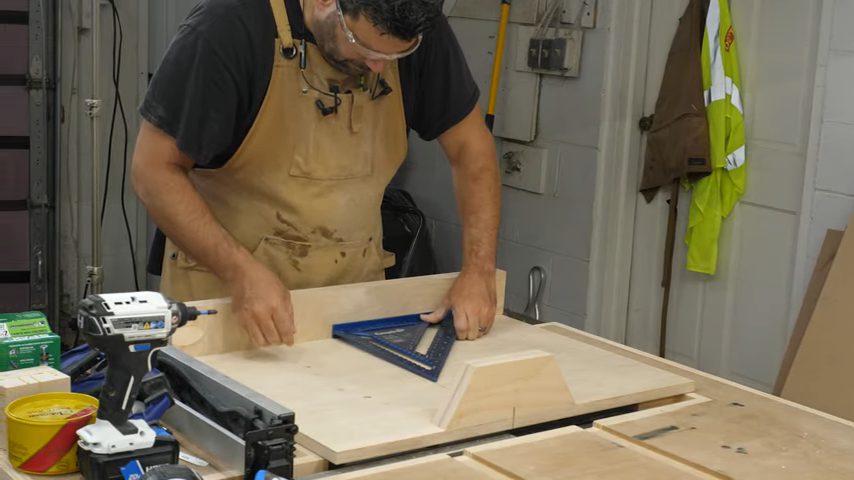
Now there’s a great process for truly squaring up your fence called the 5 cut method, which you can search for on YouTube. But for me, simply lining it up with the square got me square cuts as perfect as I can measure.
There are many more features I can add to this sled, and I plan to. But for now, I’m pretty darn happy with the results.
Favorite Maker Videos of the Week
Moving on to a few of our favorite maker videos this week, Ethan the Honest Carpenter, shared this super useful video focused on 5 tips for more accurate cuts, all of which I desperately needed.
Tamar from 3×3 Custom took part in the Great Guitar Buildoff of 2020, making this stunning sunburst veneer guitar, which is now up for auction on ebay! All proceeds are going to St. Jude Children’s Research Hospital! So after you see how she makes it, be sure to place your bid!
And last of all, one of our fans emailed me this week, and pointed to DIY MAN on YouTube, who made a set of knives out of a 12” circular blade that was ready to retire. We don’t have a plasma cutter but this guy is really fun to watch anyways, and I’m willing to bet you’ll learn a thing or to if you watch it as well.
Special Thanks to HART for sponsoring this episode and reminding us that we can do anything we can imagine if we #DOitwithHART
Absolutely indited content material, Really enjoyed looking through.
amei este site. Para saber mais detalhes acesse o site e descubra mais. Todas as informações contidas são informações relevantes e exclusivas. Tudo que você precisa saber está ta lá.
The next time I read a blog, I hope that it doesnt disappoint me as much as this one. I mean, I know it was my choice to read, but I actually thought youd have something interesting to say. All I hear is a bunch of whining about something that you could fix if you werent too busy looking for attention.
Excellent post but I was wanting to know if you could write a litte more on this topic? I’d be very grateful if you could elaborate a little bit more. Thanks!
Great line up. We will be linking to this great article on our site. Keep up the good writing.
You really make it seem so easy with your presentation but I find this topic to be actually something which I think I would never understand. It seems too complex and very broad for me. I’m looking forward for your next post, I will try to get the hang of it!
Greetings! I know this is kinda off topic but I’d figured I’d ask. Would you be interested in exchanging links or maybe guest writing a blog article or vice-versa? My site goes over a lot of the same topics as yours and I feel we could greatly benefit from each other. If you happen to be interested feel free to shoot me an email. I look forward to hearing from you! Excellent blog by the way!
It?¦s really a cool and useful piece of information. I?¦m satisfied that you just shared this useful information with us. Please stay us up to date like this. Thanks for sharing.
Hi , I do believe this is an excellent blog. I stumbled upon it on Yahoo , i will come back once again. Money and freedom is the best way to change, may you be rich and help other people.
Do you have a spam problem on this site; I also am a blogger, and I was curious about your situation; we have developed some nice practices and we are looking to swap techniques with others, be sure to shoot me an email if interested.
I precisely desired to say thanks once more. I am not sure the things that I might have sorted out without the entire strategies contributed by you about that concern. It truly was a very distressing problem in my view, nevertheless looking at a new skilled style you processed the issue forced me to weep with gladness. I’m just grateful for your information and in addition wish you recognize what a powerful job that you’re doing educating other individuals via a blog. Most probably you’ve never got to know any of us.