Super simple Rolled Paper Wall Dispenser! Plus our favorite Maker Videos of the week! S2E04
This week Rob took a day off to go pick up 32 year old woodworking tools. Which Means Jen got to play in the workshop with me, and together we made a pretty cool project that you can hang on your wall! It’s time for a Maker Break!
Hey guys, Rob is off today. He took his first day off in 9-ish years? He is making a 16 hour round trip to Alabama today to pick up his father’s 32 year old JET Cabinet Saw and JET Jointer for our shop. So even on his day off he is still working. So Jen joined me in the workshop this week to build a Rolled Paper Dispenser to hang in our office! Here’s how it went!
Project of the Week
When we’re working in the shop, we’re always using our phones to keep track of our cut lists, and that’s not always convenient.
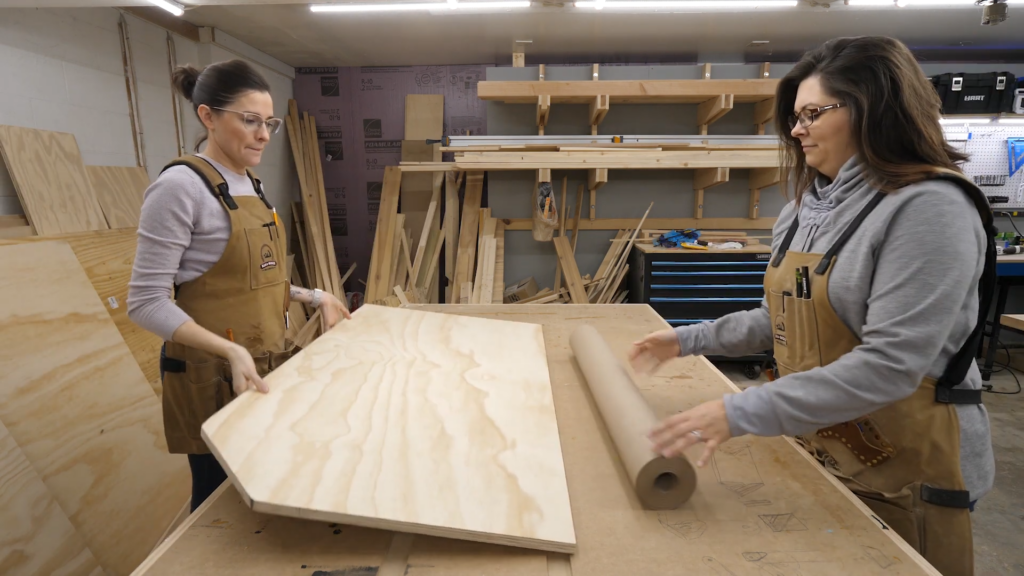
So Jen had suggested to Rob and Sarah that they make a rolled paper holder for the wall, so they can write on it whenever they want. So we headed down to the shop and got started with some plywood.
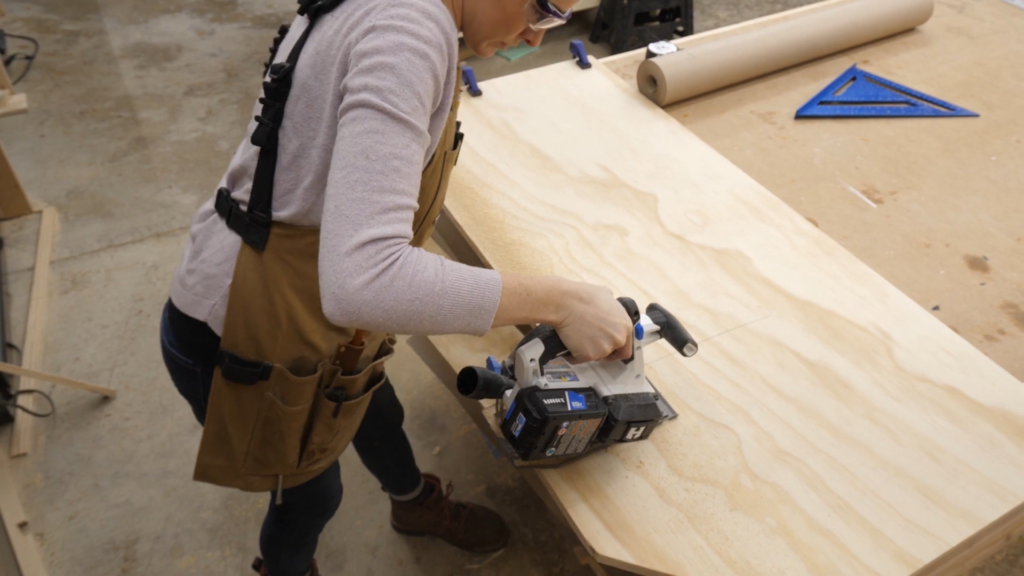
We first measured out the back support based on the width of our paper roll. Then we used the circular saw to cut it out.
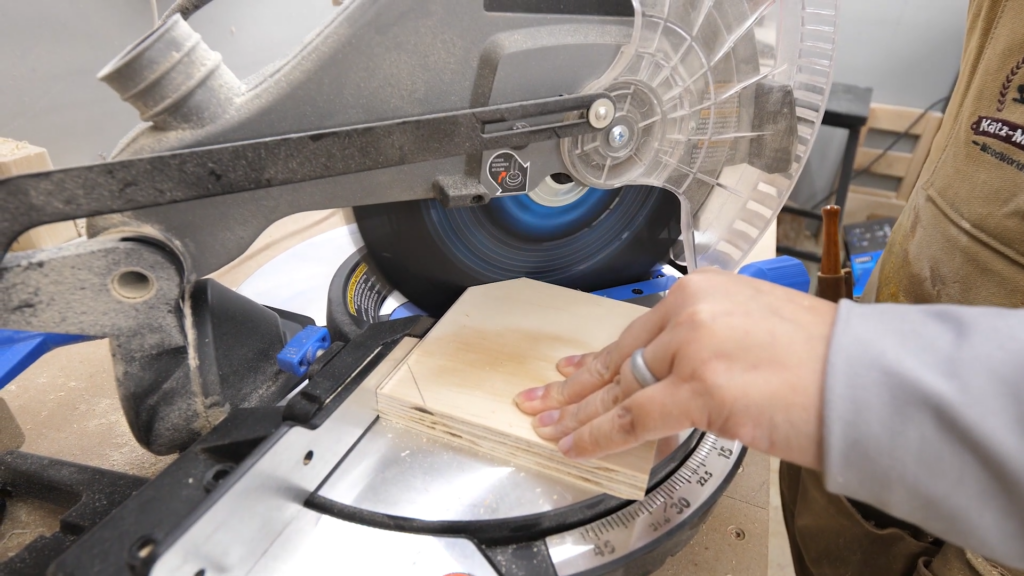
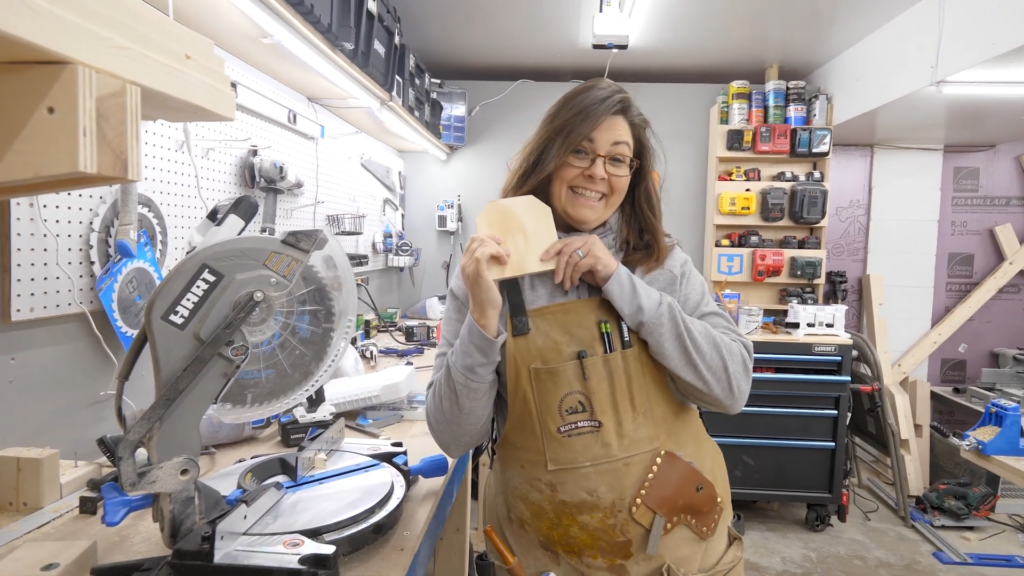
We decided to cut off the corners of our side supports with a 45 degree miter, just because it’d look pretty.
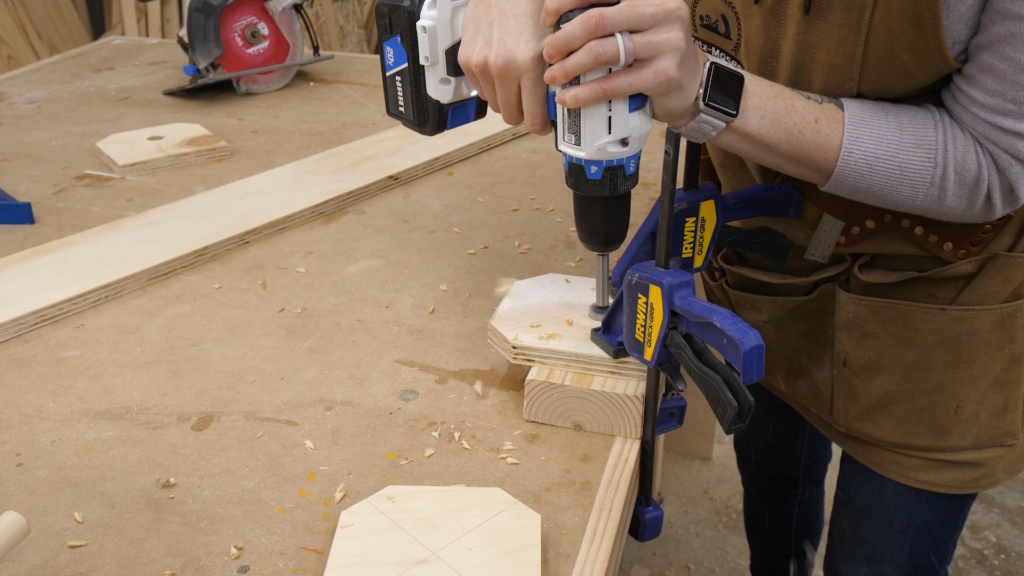
Next we used a forstner bit to cut out a hole that would support our ¾” dowel rod. Then we drilled the same holes in our swing arms. These will allow the roll of paper to swing back against the wall, keeping our paper flat.
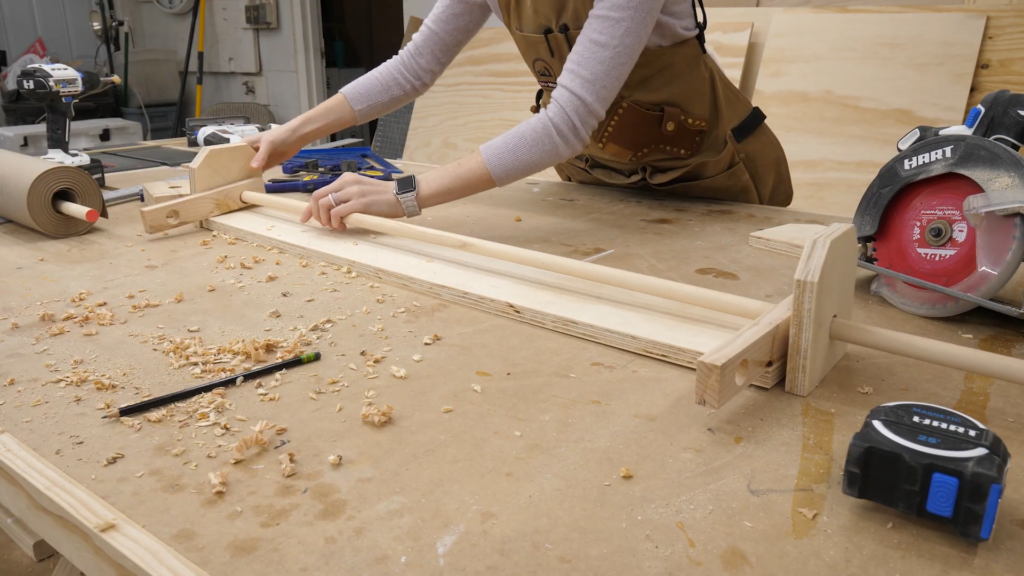
Then we put everything together to make sure it’d fit, so we could cut our dowels down to size.
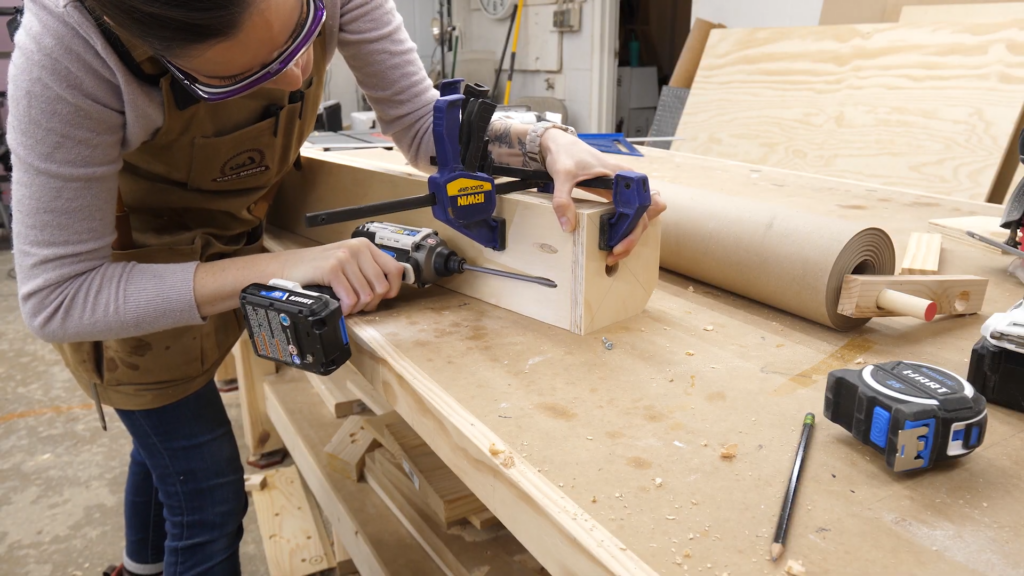
Next we used pocket holes to attach the back plate to our side supports. We used a couple clamps, and a 2×4 to hold the two pieces in place while we drove in the screws.
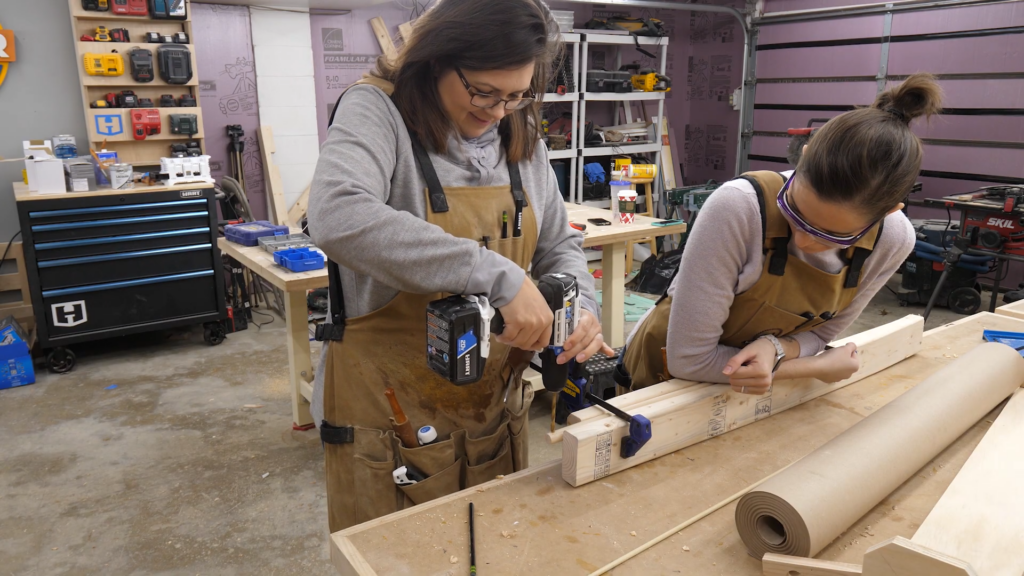
Now to keep our dowel rods in place, we decided to drill tiny holes in them so we could drive in an even smaller dowel. And by the way, drilling into a dowel without a drill press…Is a challenge. We ended up pinching it between two 2x4s and doing our best, Which worked!
Then it was time to paint. I’m sure Rob would of loved a manly blue, or maybe black, but he’s not here! So we went with the only color worth painting, TEAL! Sooooo cute. And manly.
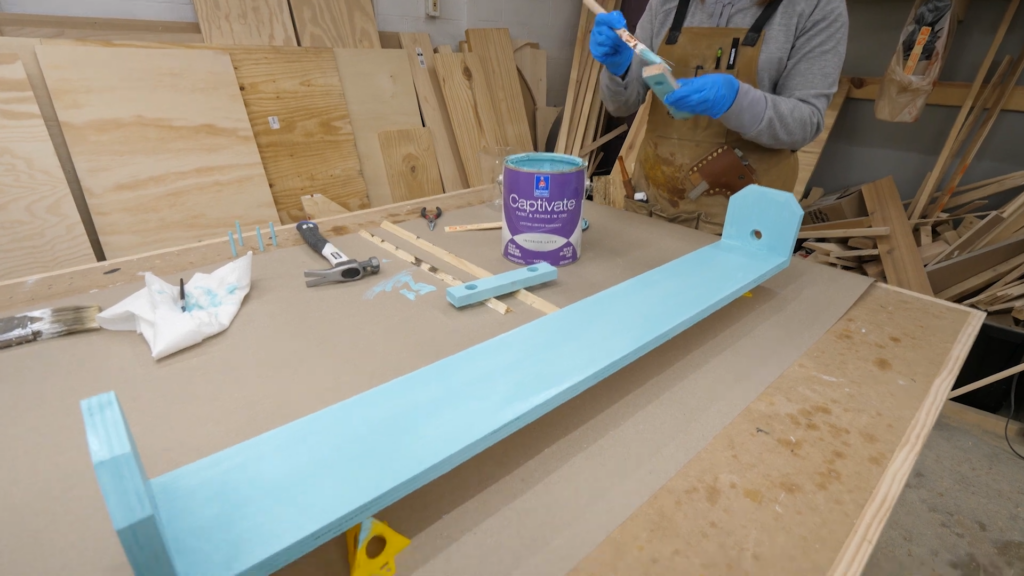
Now at the bottom of the wall we needed a strip for holding the paper in place, and tearing it off. So we cut a strip of wood, which we forgot to paint teal, and planned to screw an old bandsaw blade onto the back.
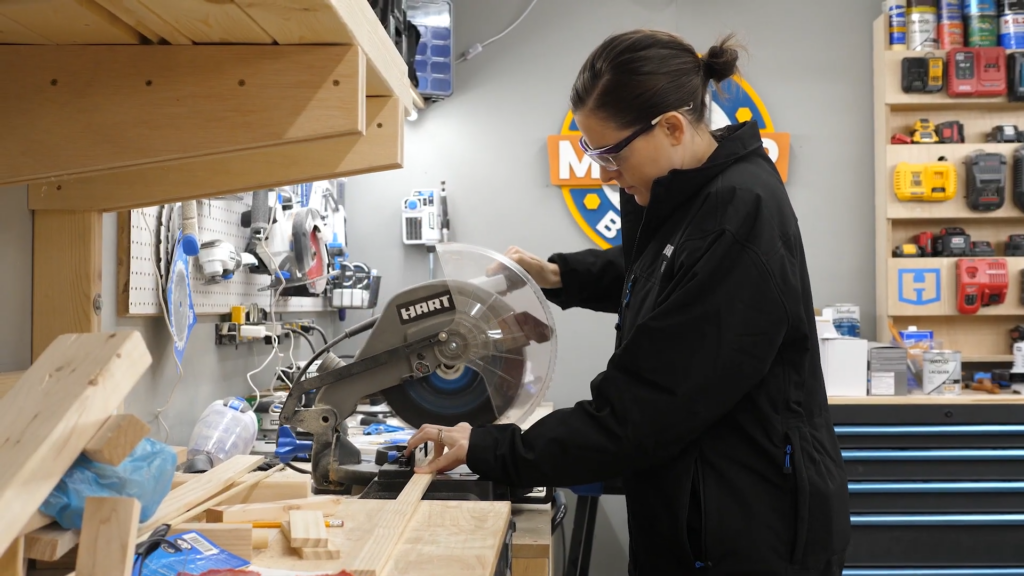
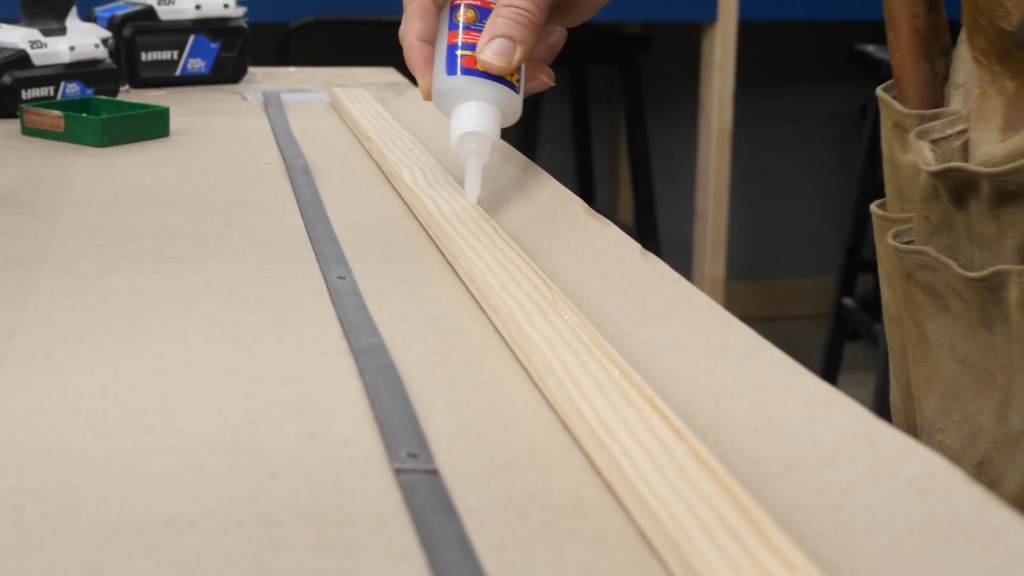
But we realized pretty quick that the screws would end up in the way, so we instead used CA glue, which worked fine. And as you see here, The Bandsaw Blade worked!
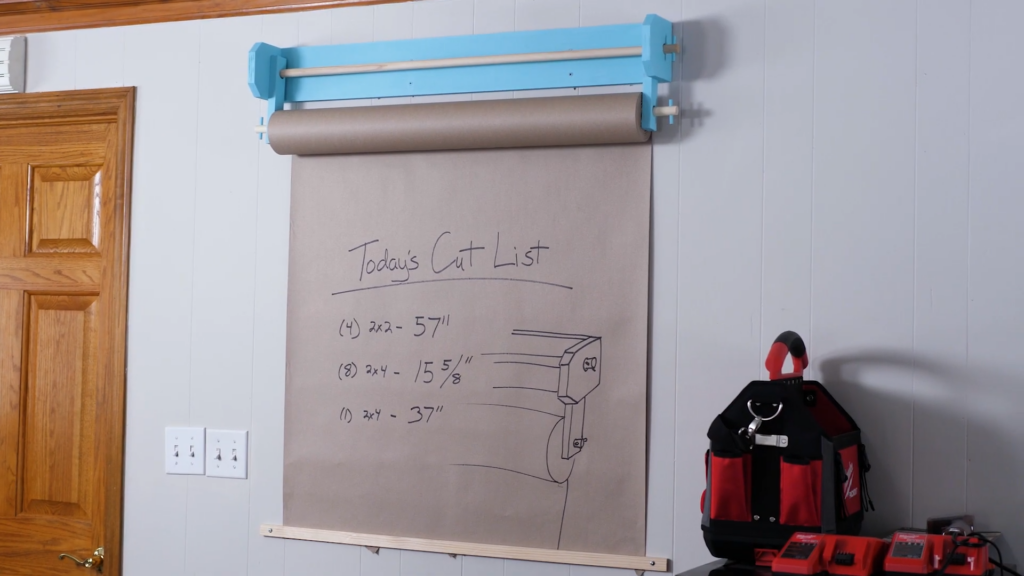
Now we can easily write things we need to remember on the wall, and when we’re done, just roll it away!
Favorite Maker Videos of the Week
First up is Fisher’s shop. He built this ultimate coffee table / gaming table complete with game piece holders for each player. This is perfect for a family game night.
Next we found this video where Neil from Pask Makes. He made his own version of the giant paper snowflakes from when we were kids, where he used shaved curls from scrap wood, laminated them, and turned the strips into “paper snowflake” decorations! Look how pretty!

Hiya very nice site!! Guy .. Beautiful .. Superb .. I will bookmark your site and take the feeds additionally…I am satisfied to seek out numerous useful information right here within the put up, we want develop extra techniques on this regard, thank you for sharing.
fascinate este conteúdo. Gostei muito. Aproveitem e vejam este site. informações, novidades e muito mais. Não deixem de acessar para saber mais. Obrigado a todos e até mais. 🙂