We MAKE a DIY Fairy Tale BED! Plus we meet Nils and Katrina from LRN2DIY! Maker Break S1E30
This week, Sarah found a great design for a cool fairy tale bed so we made one for her baby. Then we get to meet Nils and Katrina from LRN2DIY! Plus, we’ll share a few of our favorite Maker videos of the week, but first It’s time for a Maker Break!
This Week’s Project!
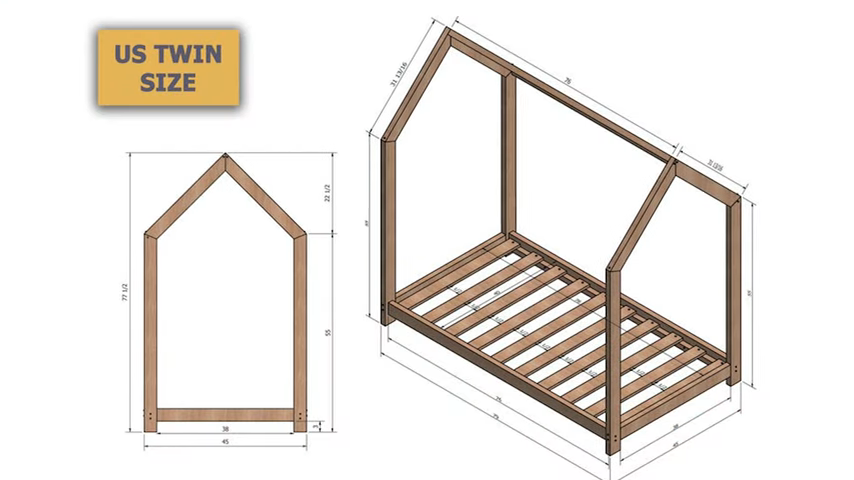
When Sarah showed me the design for this simple bed I was pretty pumped. Her daughter is this amazing little girl, and I knew this would make her happy. To build it, we just needed 2x4s, and I was able to get what I needed from our current supply, which is always nice.
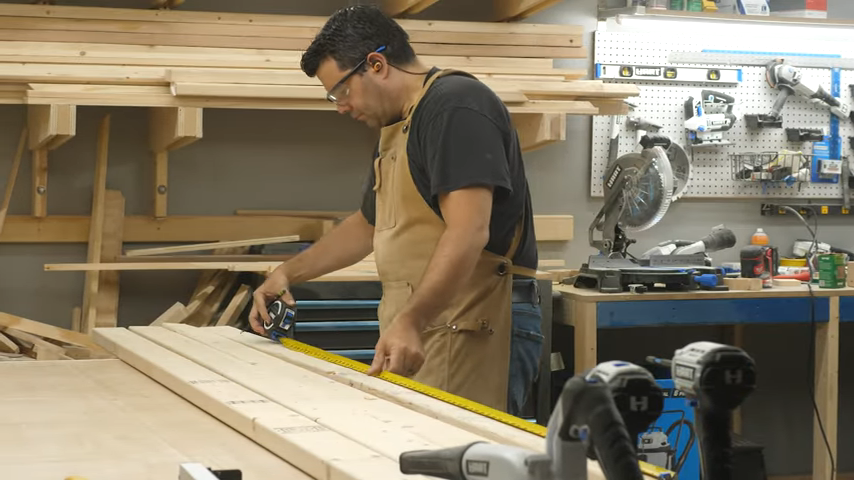
First thing I needed to do was to get them cut down to size. The 4 stretchers were easy enough, but the end frames shaped like a house required some fancy miters. First I needed to cut some 22.5 degree cust in the side and top pieces. This would get me to a 45 degree angle for the roof pitch. A bit steep, but you know… this is not a real house. Calm down.
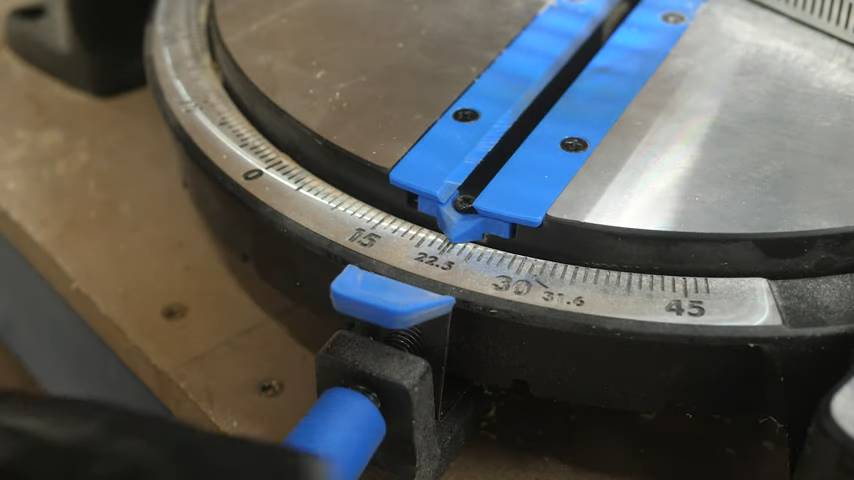
Now I’m guilty of the same thing a lot of you are. I haven’t spent the time to really dial in my miter saw, so these cuts were just slightly off. Normally not an issue, but in this design I really needed all of these cuts to be precise, because they all needed to add up. But we’ll get to that in a minute.
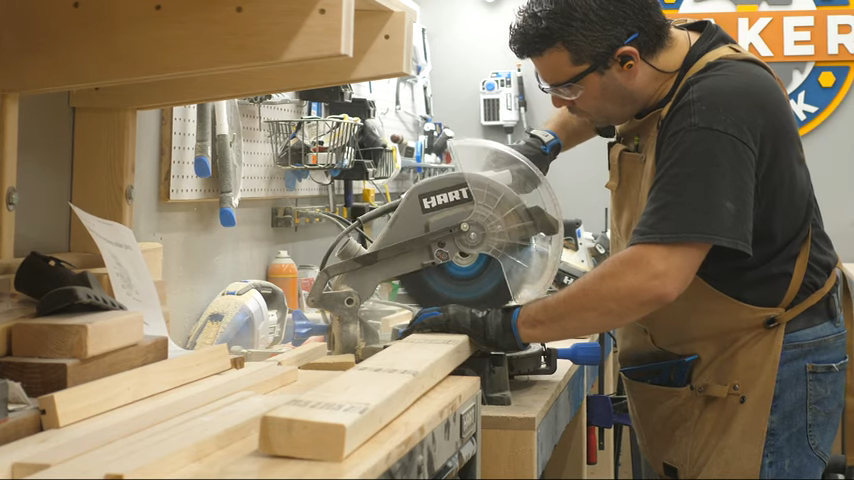
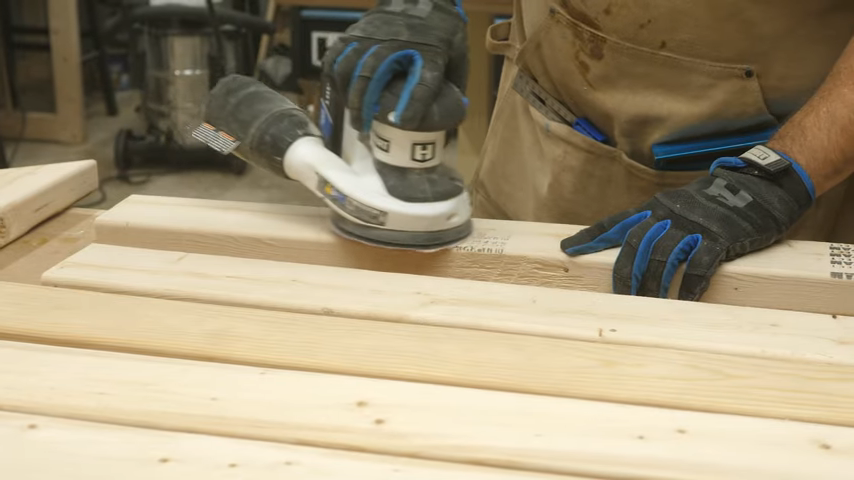
Soon I had all of my pieces ready, and got to sanding. I know Sarah’s daughter will be touching these surfaces, so I had to make sure they were smooth. Sanding took forever, but it’s necessary.
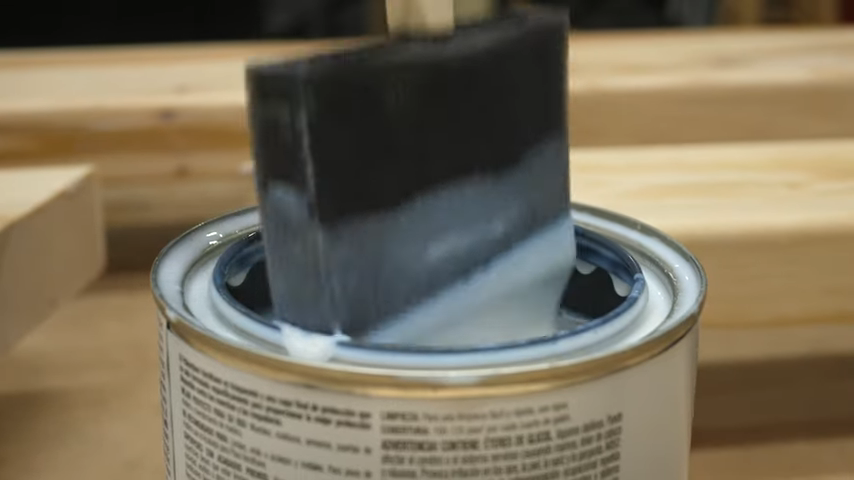
Next my wife helped me apply a couple coats of water based poly, with some light sanding in between.
Then it was time to screw them all together. I used pocket hole screws, and was careful to put them where you’re not likely to see them.
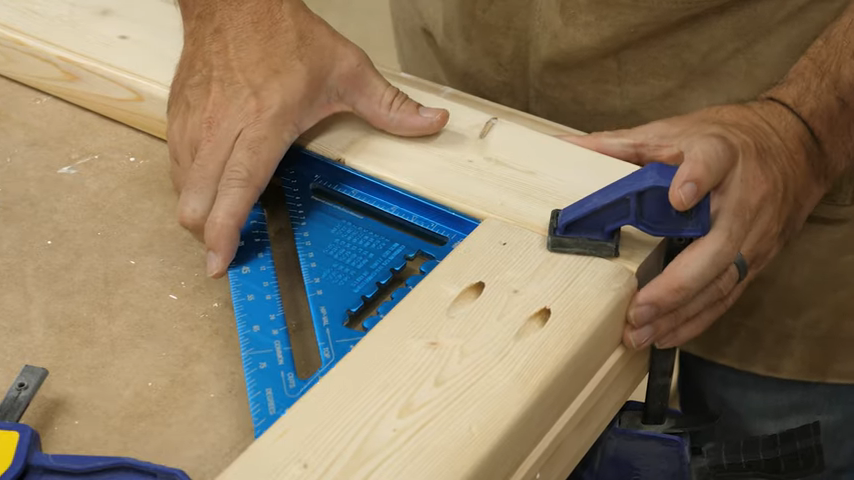
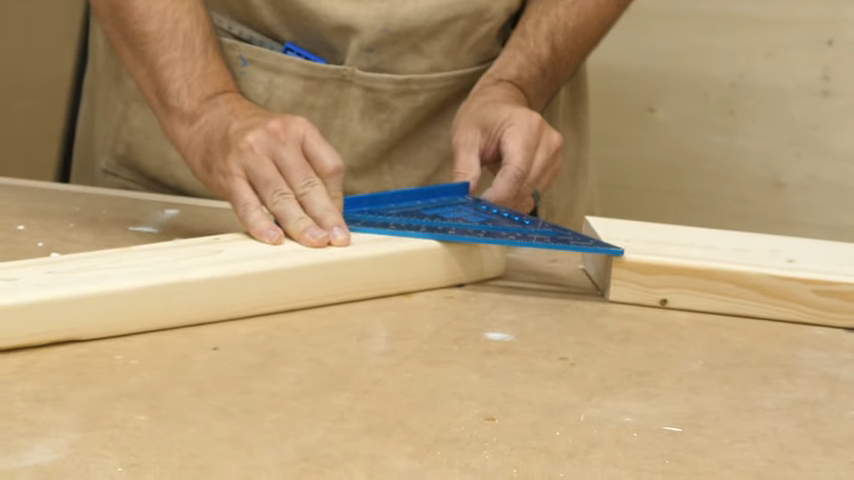
This brings me back to our angle problem My 45 degree cuts were pretty good, but my 22.5 were off. And that meant the parts didn’t line up. But with a few adjustment cuts to the top pieces, I was able to get it all fixed.
Then it was time to head over to Sarah’s house, so I packed up everything I’d need, and drove over.
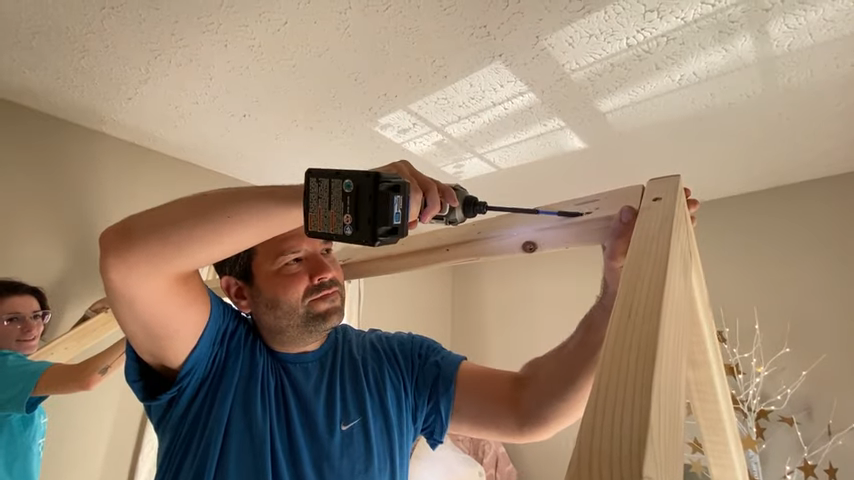
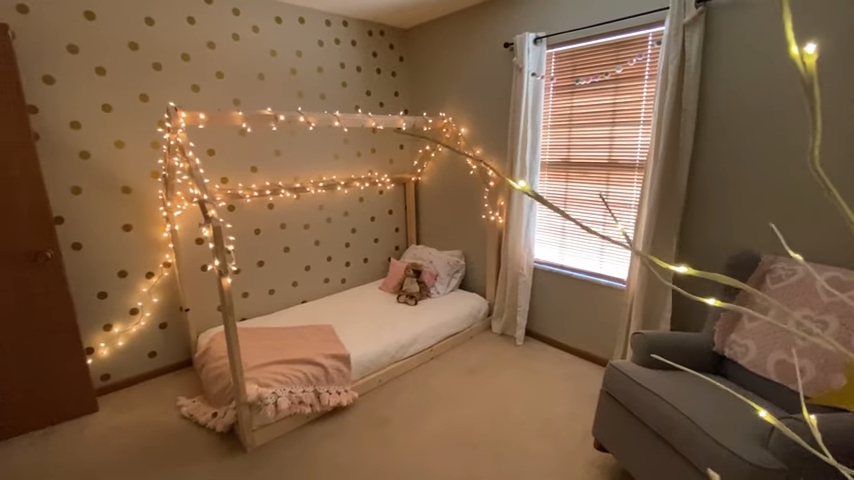
Once we got into her daughter’s room, we simply screwed in the stretchers, and we were done! Sarah added a few extras like these led lights, and it was time to show it to her daughter. And I think it’s safe to say she liked it.
Meet A Maker!
This week we had the honor of meeting Katrina and Nils from LRN2DIY! If you are not already subscribed to their channel you can find it below with one of their favorite projects. Thank you both for taking the time to talk with us and share your story.
Our Favorite Maker Videos of the Week!
Ayd Design Co shared this great build of a rustic modern log bench. The build process was a ton of fun to watch, right up until he started spray painting the top! But it turns out he was just bringing out the grain. The whole thing turns out amazing. Just watch it.
Next up Joe from Dirty Bay Woodshop told me I HAD to see this new desk build from Spencley Design Co. and I’m glad he did because this desk is really cool. Eric found himself struggling to find a comfortable place to work at home and decided to make a workspace from Plywood. These days a lot of us are stuck working from home, and a desk like this would make a huge difference. Fortunately, he provides detailed plans for just $8.
And our last video is from our friend Hailey at HonestWork Designs. She needed some outdoor entertaining space, and came up with this amazing lounging piece unlike anything I’ve seen before! I love how big it is and the fact that you can move the seat backs is awesome. The best part is, she built it with just 2x4s, making it easy enough for all of us to make ourselves.
Alright Maker Friends, that’s all I’ve got. If you saw a Maker Video that should have been mentioned, do us a favor and link it in the comments below. If you link it, we’ll watch it! Special Thanks to HART for sponsoring this episode and reminding us that we can build anything we can imagine if we #doitwithhart. Be sure to like and subscribe so you don’t miss a thing! Alright break’s over! Let’s make something!

Thank you, I have recently been searching for information about this subject for a while and yours is the best I’ve discovered so far. But, what concerning the bottom line? Are you certain concerning the source?