We added an ADAPTIVE TV LED Backlight for only $70, called Govee IMMERSION! It’s Maker Break! S2E11
This week, we add a wine fridge to the date night nook, and install the craziest TV lighting kit we’ve ever seen. Then we’ll share a couple of our favorite Maker videos of the week. Alright guys, put down your tools! It’s time for a Maker Break!
Project of the Week
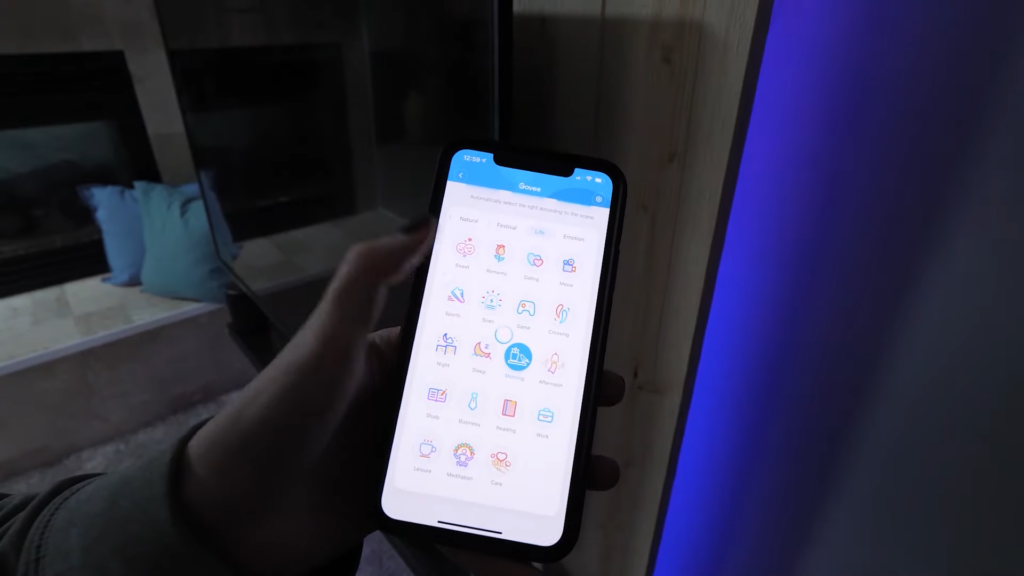
Let’s start with the fun stuff. In our Date Night Nook build, we added these awesome LED strip lights made by a company called GOVEE, and they worked great. After using them for a few weeks, my wife and I tend to leave them on a warm white color when we watch TV. But today we’re installing a new GOVEE product, called Immersion.
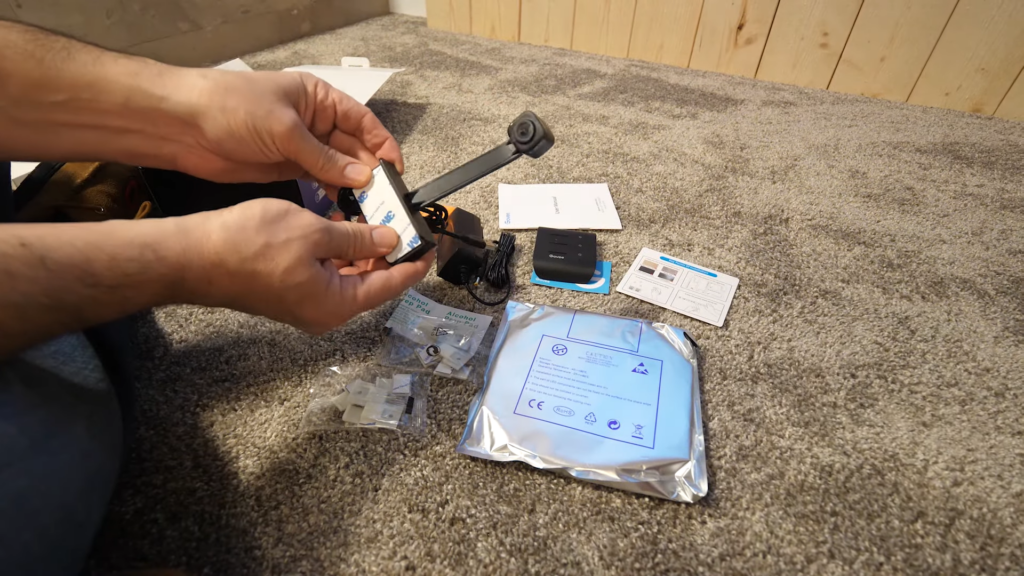
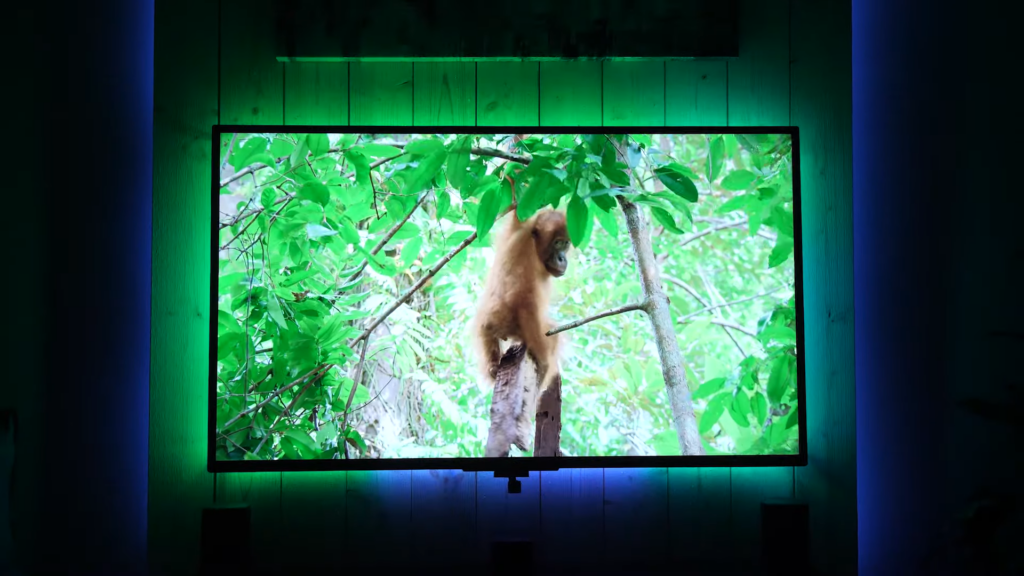
This led tv backlight kit comes with the standard string of led lights that you’d expect. What makes it different, is this little camera. It mounts to the top or bottom of your tv, and looks back at what you’re watching. Then it adjusts the color of your leds in real time, to match the scene on your tv! We’ve seen mixed results with these online, so I’m anxious to see how well it works.
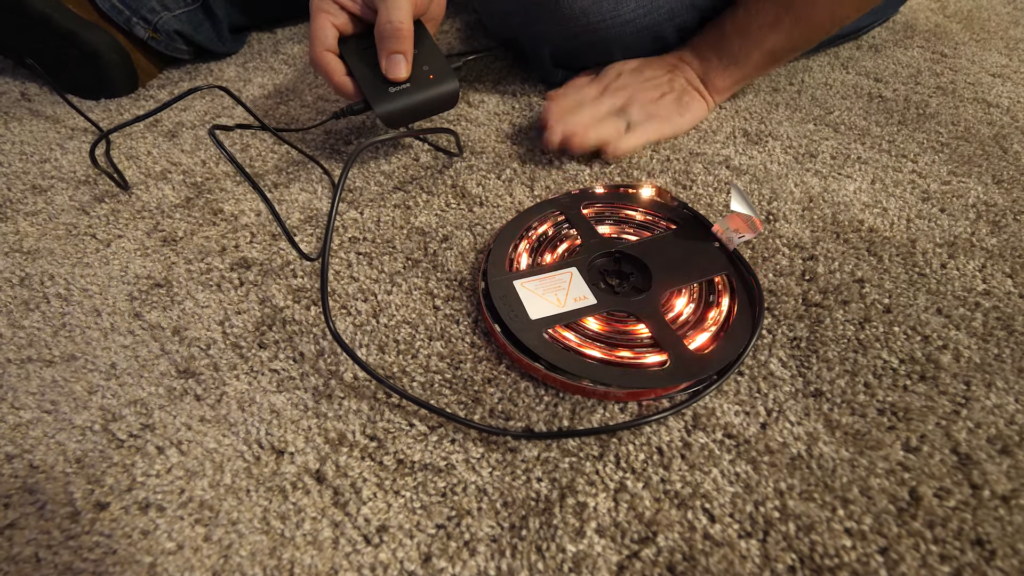
The first thing I had to do was take my TV down, and start applying the LED strips to the back. Now I wasn’t sure I was putting them on exactly right, so I just used painter’s tape to test it. When I’m done, I’ll go back, clean off the plastic and use the adhesive on the back of the strips to hold it in place. The kit also comes with some clips that help it stay permanently.
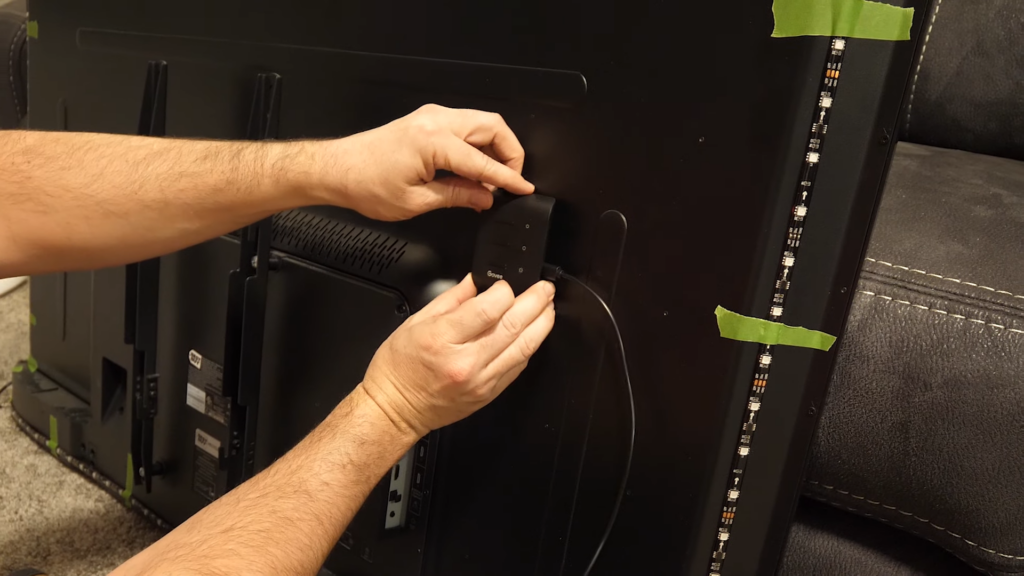
After applying the strips all the way around, I stuck the controller to the back of the tv, and plugged the lights in. I then plugged in the camera, and left it to hang under the tv while I put it back on the wall.
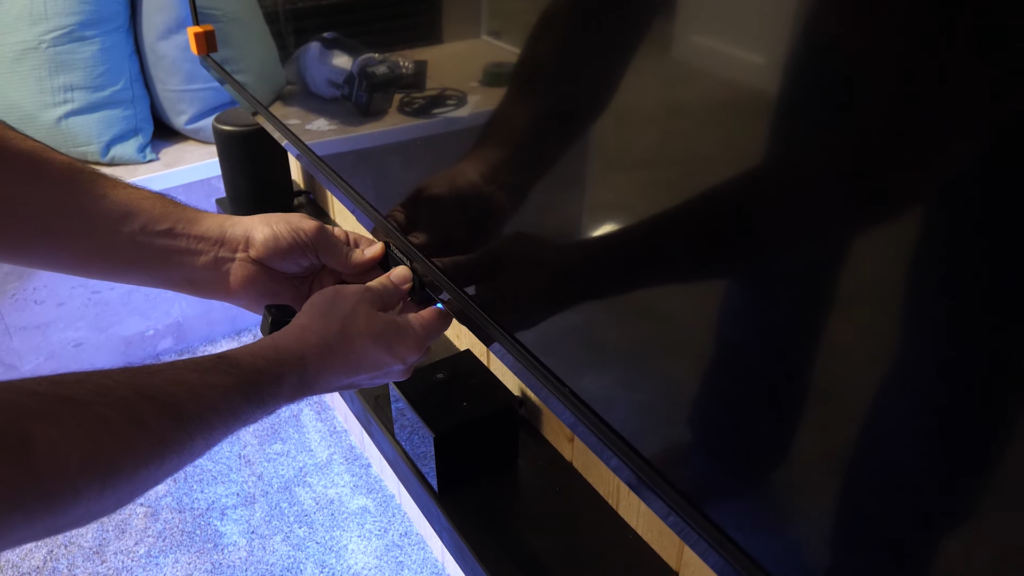
I ran the power adapter for the lights through the back, then plugged it all in and hung the tv. Finally, I used the 3m tape on the camera to stick it to the bottom of my TV. Next I opened up the app, which immediately found the strip, and I went through the setup process.
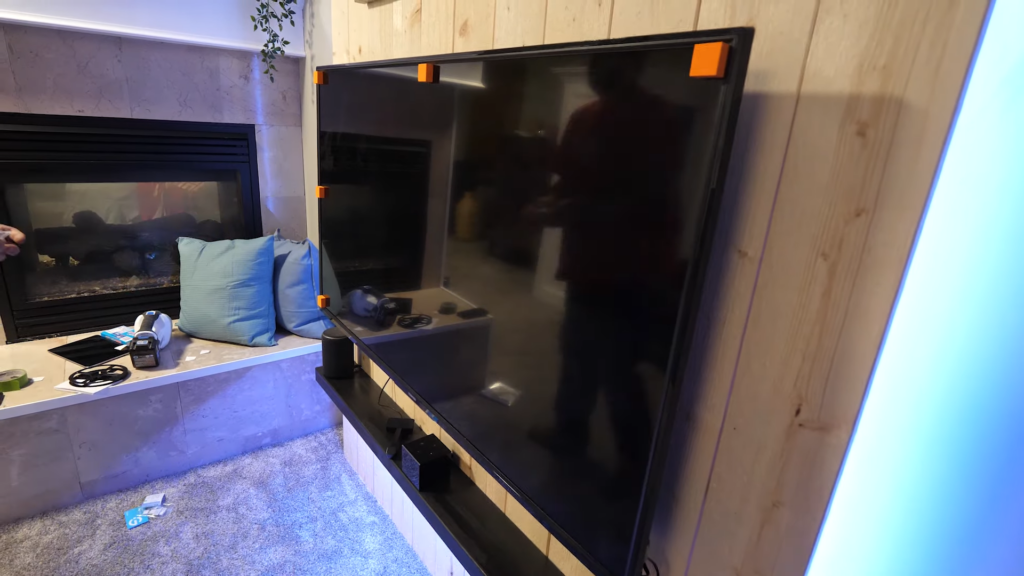
I had to put these orange foam pads on my TV screen, which made me nervous, and rightfully so. They were NOT easy to peel off. Maybe less 3m tape on these guys next time Govee.
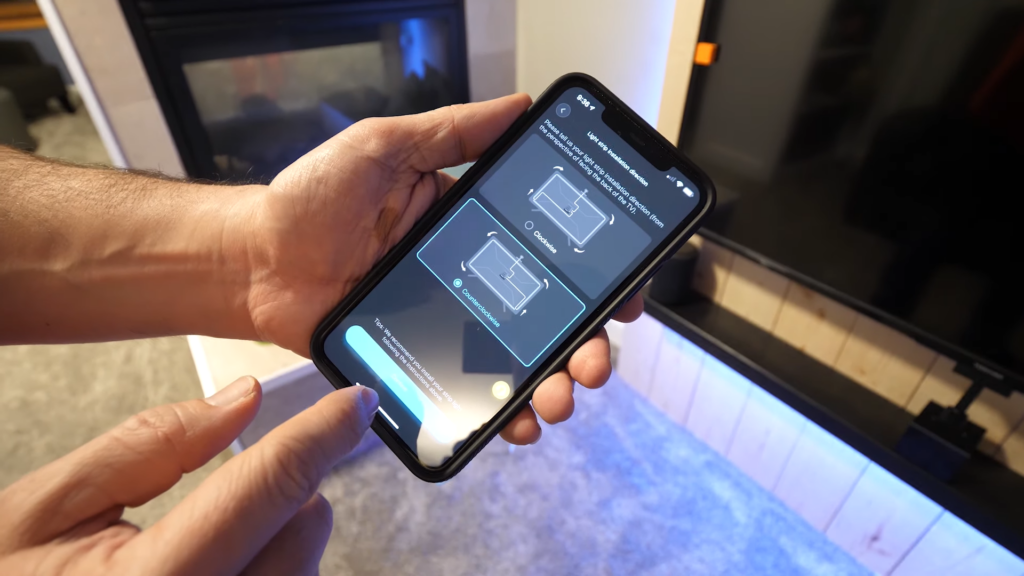
After aligning the camera with the screen, it was time to try it out, and….. Wow. So here’s the thing. If there’s a lot of different color on the screen at a given time, it does struggle to keep up. But for the most part, when the screen was a warm color, so were the lights behind it. When it was a night scene, the lights were blue. In this shot from Star Wars you can see the lights light up orange just as the explosion hits the screen, and then go back to blue as it disappears.
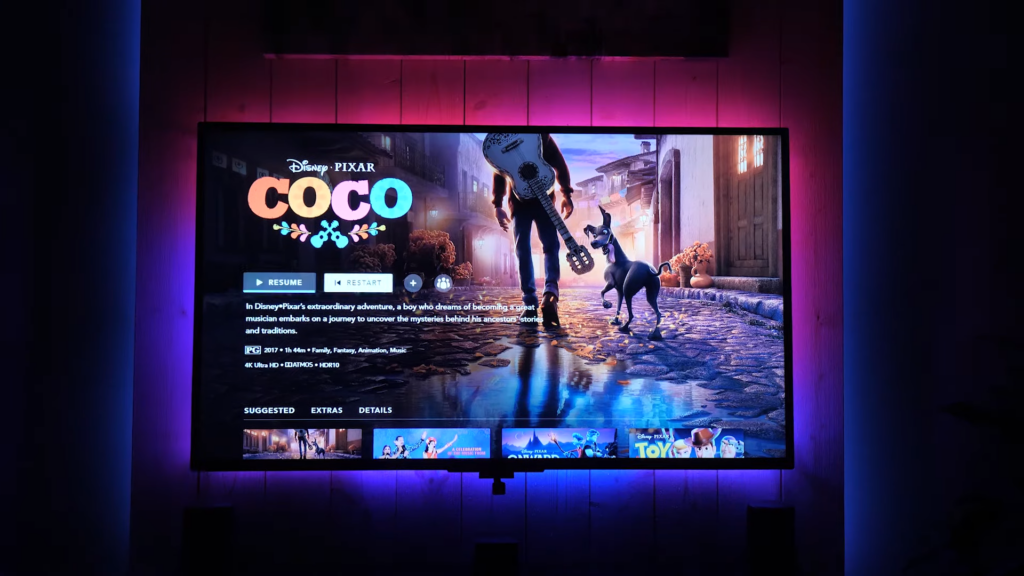
It’s really cool! I didn’t have to do anything else to set it up at all. It just worked. If you want to add a cool asthetic to your TV setup, this kit was only like $70, and so far, it’s totally worth it.
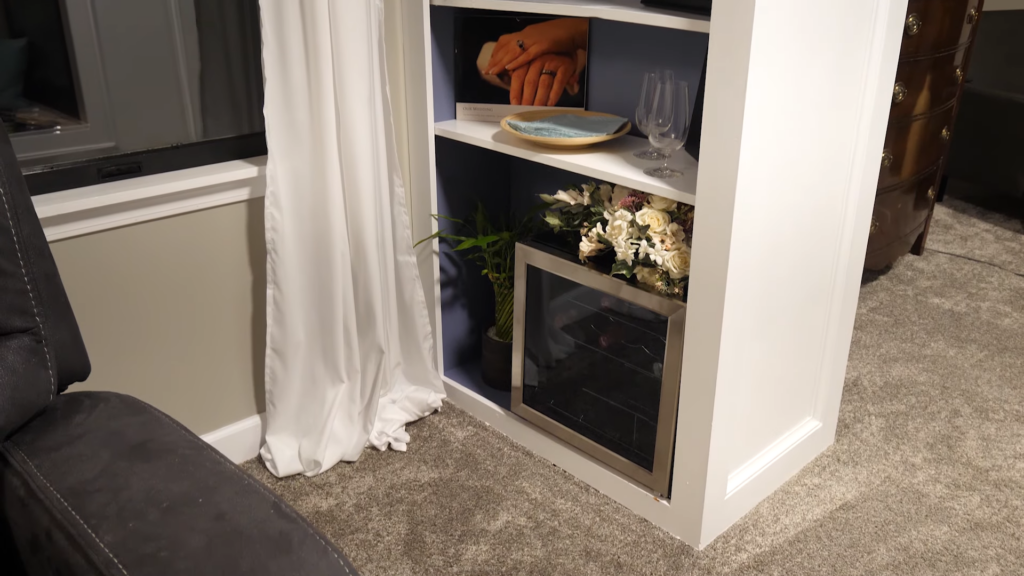
The other upgrade this week was supposed to be adding my wine fridge to the bookcase next to the loveseat. I say “supposed to” because I wasn’t really that successful.
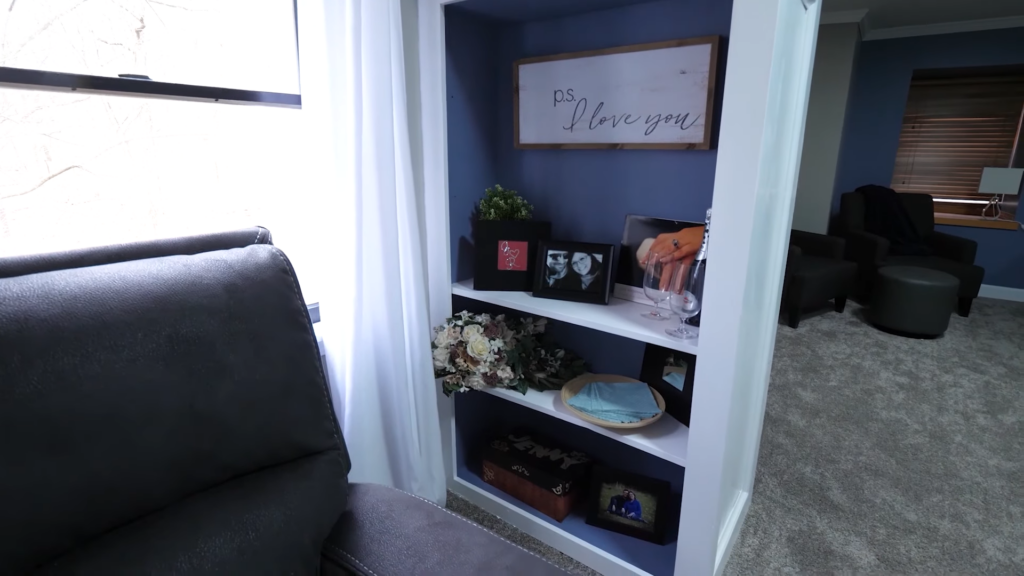
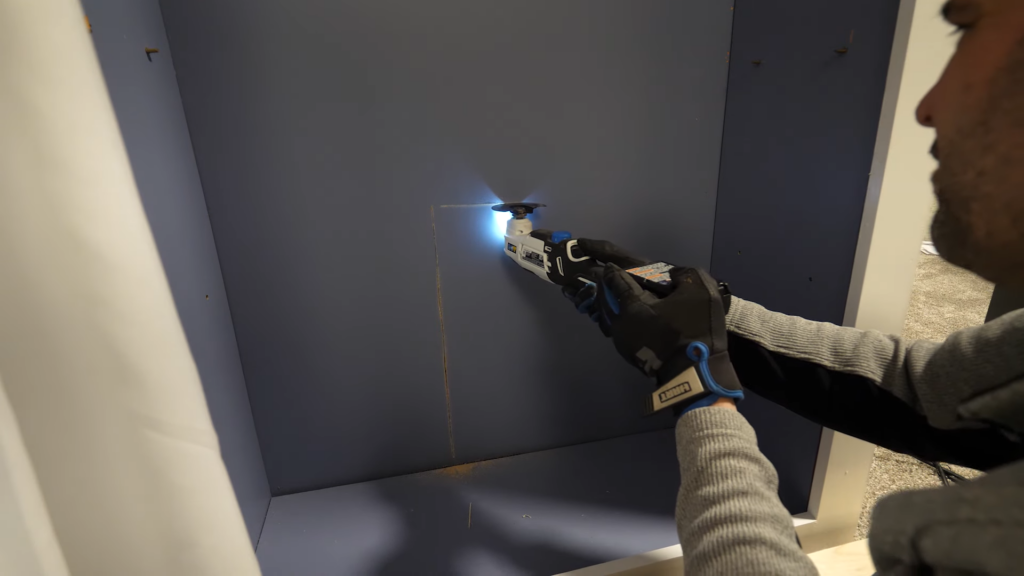
This bookcase is garbage. Not a single straight piece of wood in it, and nothing is level. And I took that for granted. I cut out a hole in the back to reveal a big empty space. No clue why they made it this way. But I figured it would be easy to just add a floor to the back of it, and then slide in the fridge.
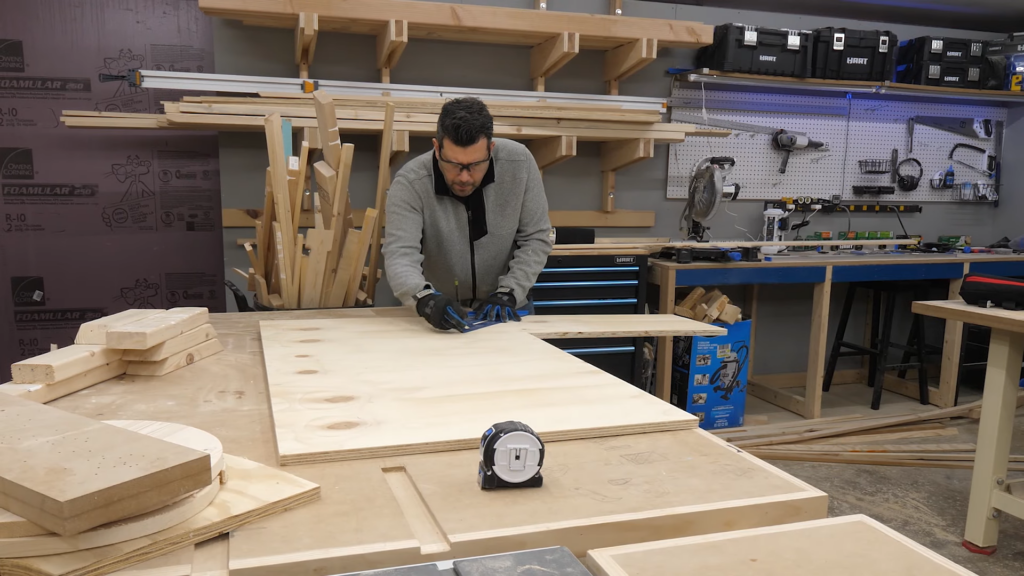
I cut up some ¾” plywood with the circular saw and ripped it to 9 and a half inches on the table saw. It fit in just fine, and I screwed it down. But then when I tried to get the fridge in there, nothing was lining up.
The floor of the cabinet is all over the place. The trim on the front is high on the right, and low on the left. And I just didn’t notice until I was knee deep in this mess.
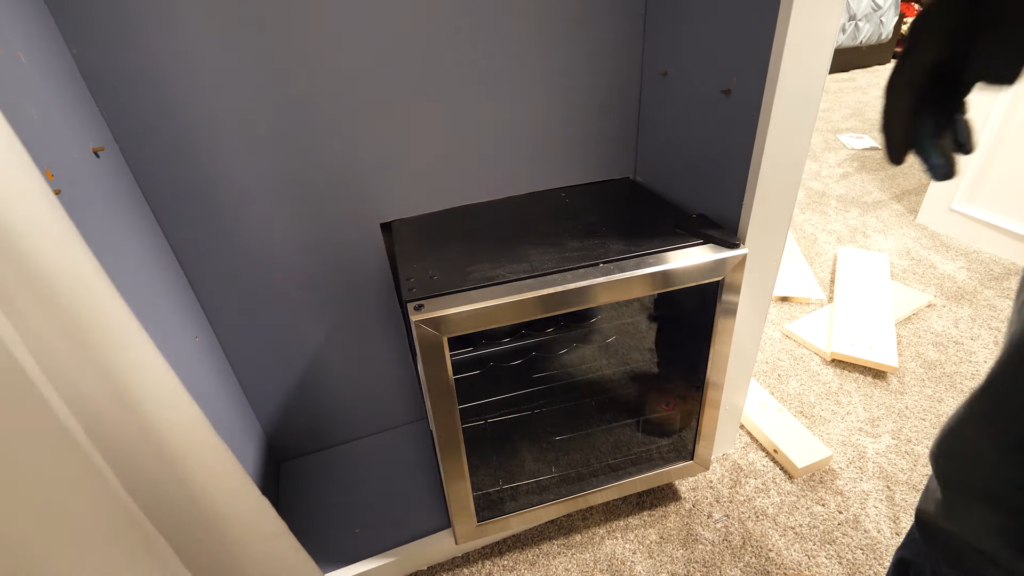
I ended up screwing in more platforms, and drilling a hole in the back to run the power. It’s… fine. It works. I just have to switch the door so it swings out the other way, and get a template to drill more holes for shelves so I can place one directly over the fridge. But for now, we have cold wine, and I’m grateful for that.
Favorite Maker Videos of the Week!
So let’s talk about our favorite maker videos this week. Mine comes from Home Made Modern, who built this unique table out of stone tiles. I never would have thought to try that, let alone cut these beautiful geometric patterns. Lots of inspiration in this one!
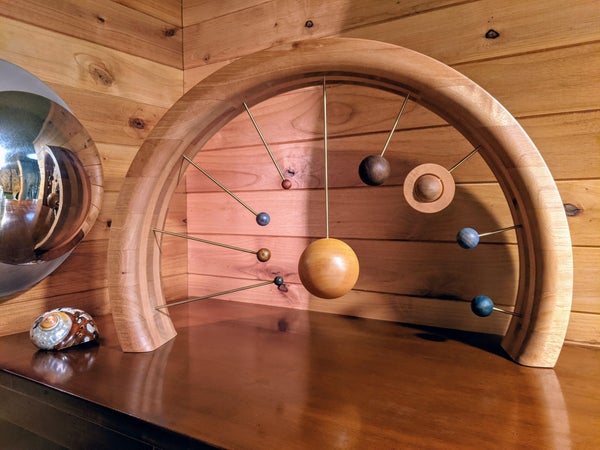
Mine actually isn’t a video this week. If you’ve never been to instructables.com, you really should. People share their DIY projects along with detailed instructions so you can make one too. And while browsing this week, I ran across this inverse solar system, which is such a unique take on the model solar system. They built a large wooden arch, which then supports the wooden planets, on the inside. I will absolutely build one of these. Just need a bandsaw.
You can watch last week’s episode where we reviewed the entire line of HART tools after using them in our shop for a year. I’ll link to that right here.
Special thanks to HART for sponsoring this episode and reminding us that we can build anything we can imagine, if we #DoItWithHART

My developer is trying to convince me to move to .net from PHP. I have always disliked the idea because of the expenses. But he’s tryiong none the less. I’ve been using Movable-type on a variety of websites for about a year and am concerned about switching to another platform. I have heard great things about blogengine.net. Is there a way I can transfer all my wordpress posts into it? Any help would be really appreciated!
me encantei com este site. Para saber mais detalhes acesse o site e descubra mais. Todas as informações contidas são conteúdos relevantes e únicos. Tudo que você precisa saber está ta lá.