This week I used our new crosscut sled to make my first mortise and tenon joints and the results were awesome! Plus, we’ll share a few of our favorite Maker videos of the week, but first It’s time for a Maker Break!
Project of the Week
After building the crosscut sled last week, I was anxious to use it for a project. So when my wife showed me this plant stand on Pinterest, I knew it’d be the perfect opportunity to make my first mortice and tenon joint.
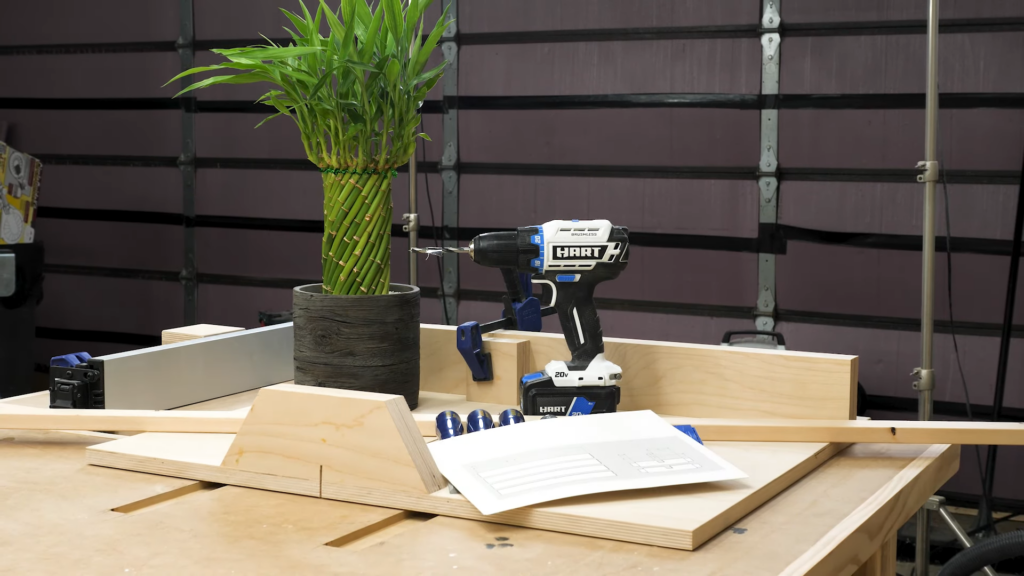
So I gathered all of my parts.
The sled, the plant, a scrap 1 by 2, a knife, a square, a basic set of chisels, my Hart brushless drill, and some instructions I made in Sketchup.
The first thing I did was cut the 1 by 2 to size. 14” for the legs and 7 ½” for the cross bars. To make the 14” cuts I used a block against the fence for reference. I cut the 4 legs, and then clamped a block to the sled to make cut my two cross bars. Now I used my knife to mark the wood. I learned this from watching Johnathan Katz-Moses. Then to make sure I’m getting a precise cut, I can just slide the piece forward until the carbide tip rests perfectly into the groove I cut with my knife.
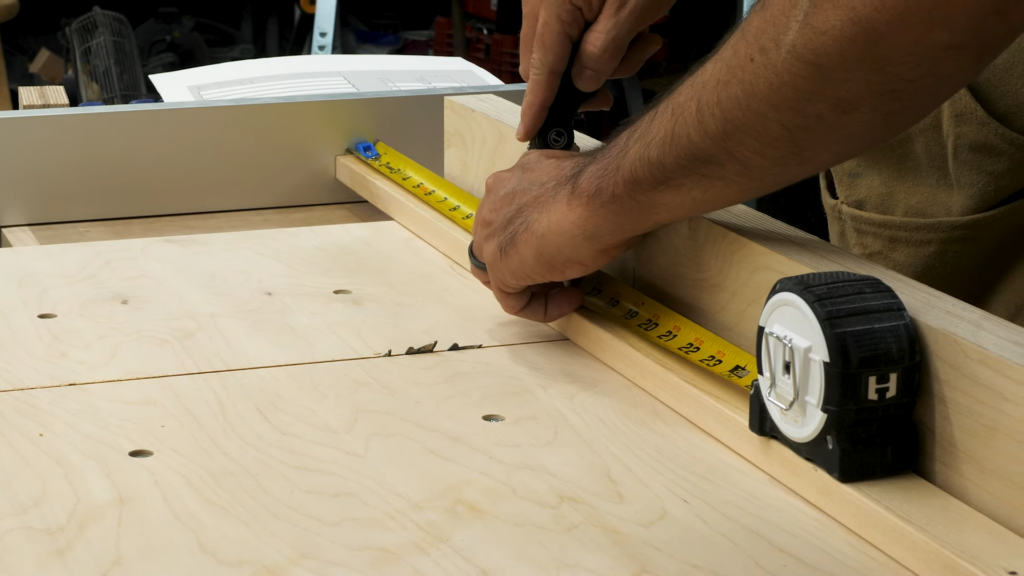
Now it was time to make my tenons in the cross bar. To do that I measured the length of the tenons and marked it on the cross bar. Then I marked the depth of the cut, ¼” on the side as well.
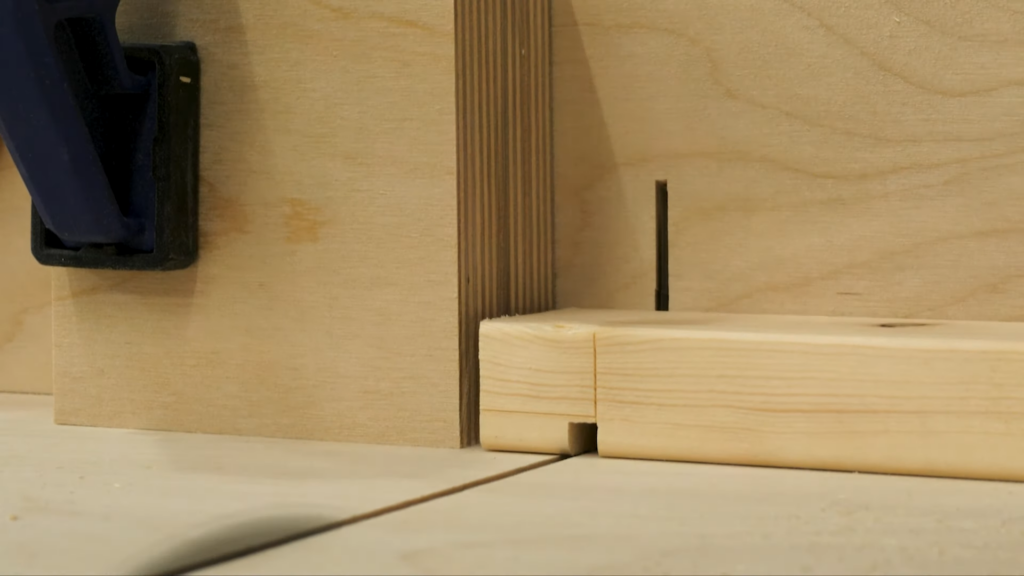
Again, this allowed me to adjust the table saw blade to the exact spot I needed. As you can see that first pass wasn’t deep enough, but I didn’t notice so I made all of my cuts. Once I realized it was wrong, I simply lifted the blade slightly, and cut again until I got it perfect.
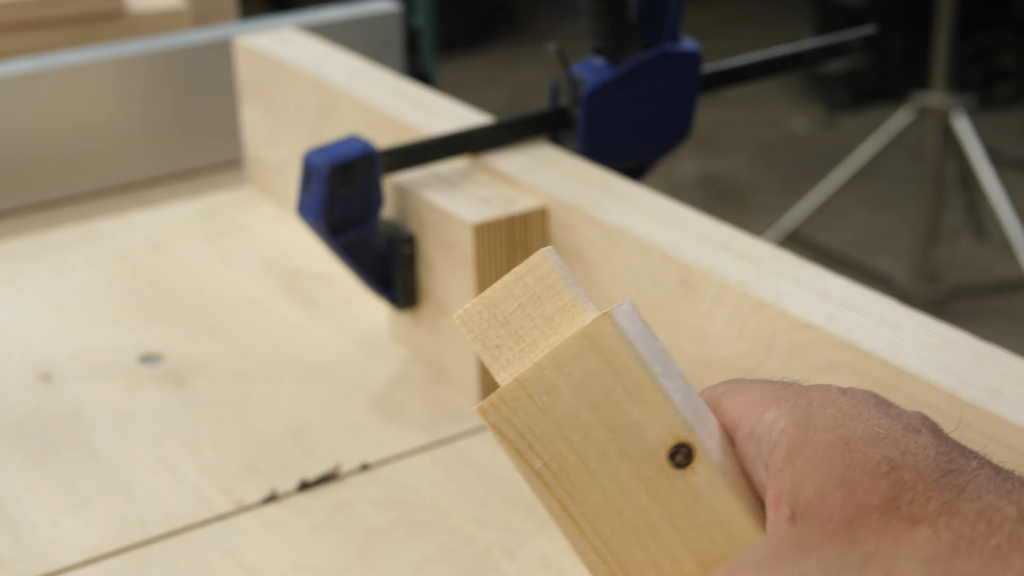
Then I just had to rotate the piece to make the same cuts on all 4 sides. The results? I now have a nearly perfect tenon. I simply repeated this process on both ends of my cross bars.Finally, I needed to cut a notch in each one so they could join together with a lap joint. To do that I measured out the center point, and then marked a ¾” square.
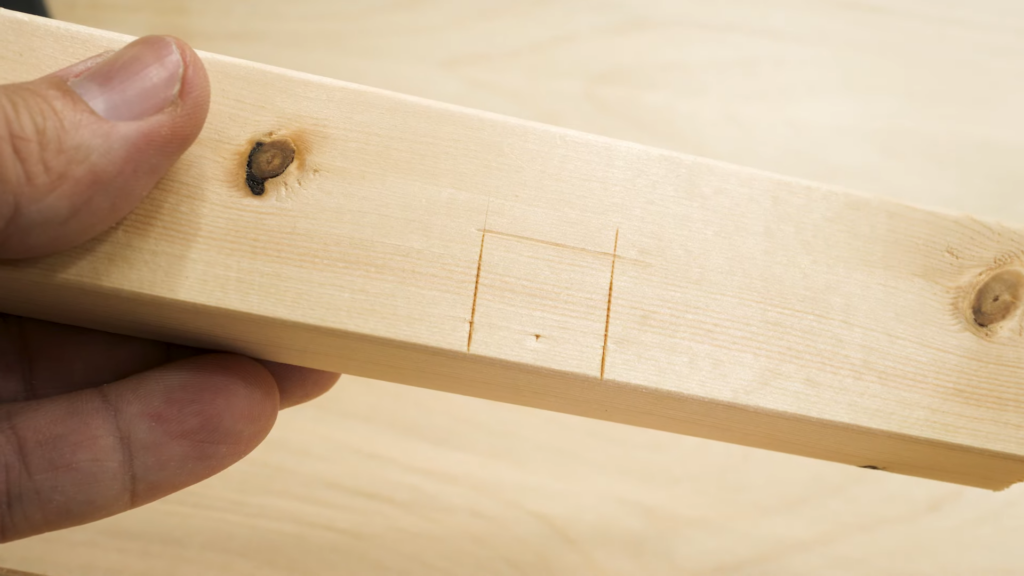
I used a stop block on the sled to help me get accurate cuts on either side of the notch, and then did the rest by hand. They slid together perfectly.
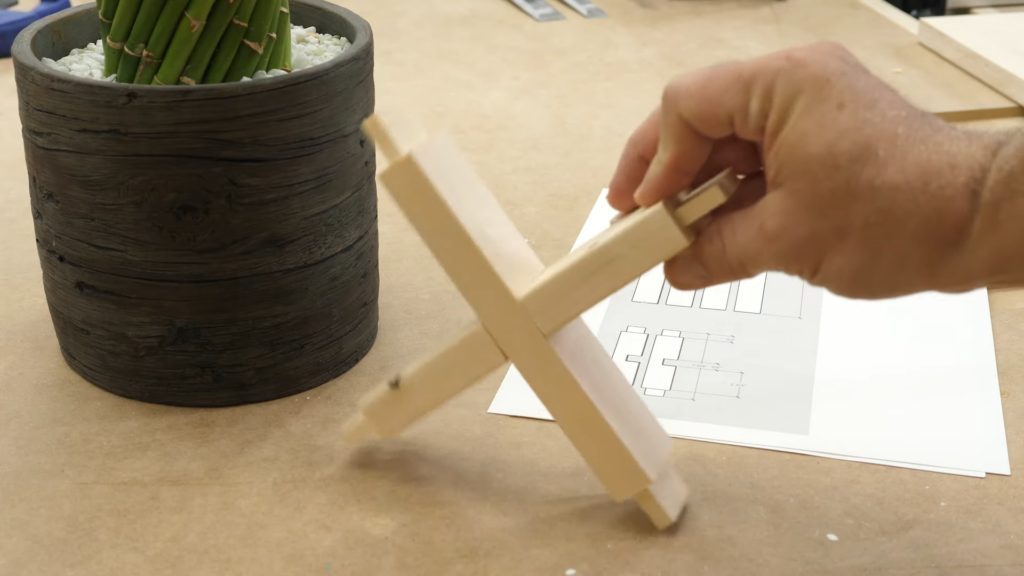
Then it was time to cut my mortises. Now to do this accurately, you really need a drill press or a plunge router, neither of which I have. But I found a few guys online doing this with a drill, so I decided to give it a shot. I marked out my mortise with a knife, and clamped it down to my bench. Really need to make a bench vice.
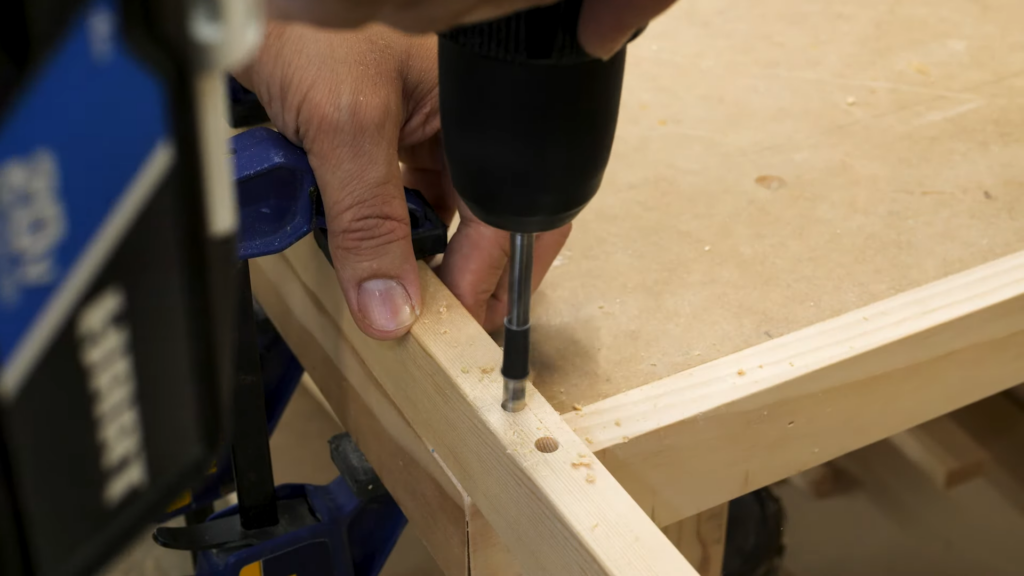
After putting a piece of tape on my ¼” bit to control my depth, I did my best to drill as perpendicular as possible and drill out the mortice. After a few holes, I used chisels to cut out the waste. This wasn’t easy. I think it’s partially due to cheap, dull chisels, and also due to the fact that I was using softwood, which often mushed instead of cut.
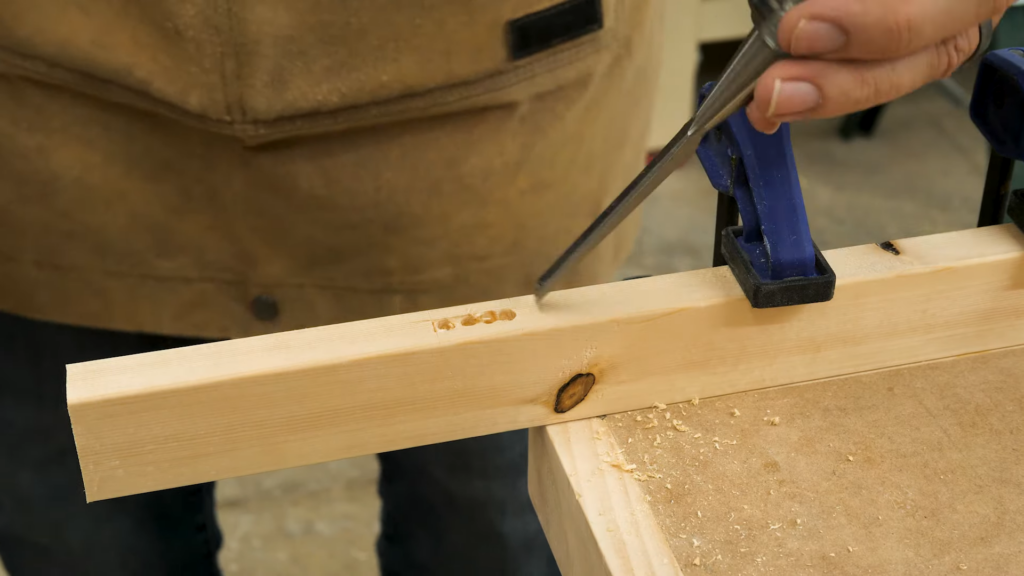
After I had it cut, I test fit the tenons, and if it was too tight, I simply sanded the tenon until I got a tight fit. I test fit all of the joints together, and they were amazingly strong, even with no glue or fasteners. One of my joints was slightly off, so the leg wasn’t perfectly vertical. I offered to replace it but my wife liked how it was.
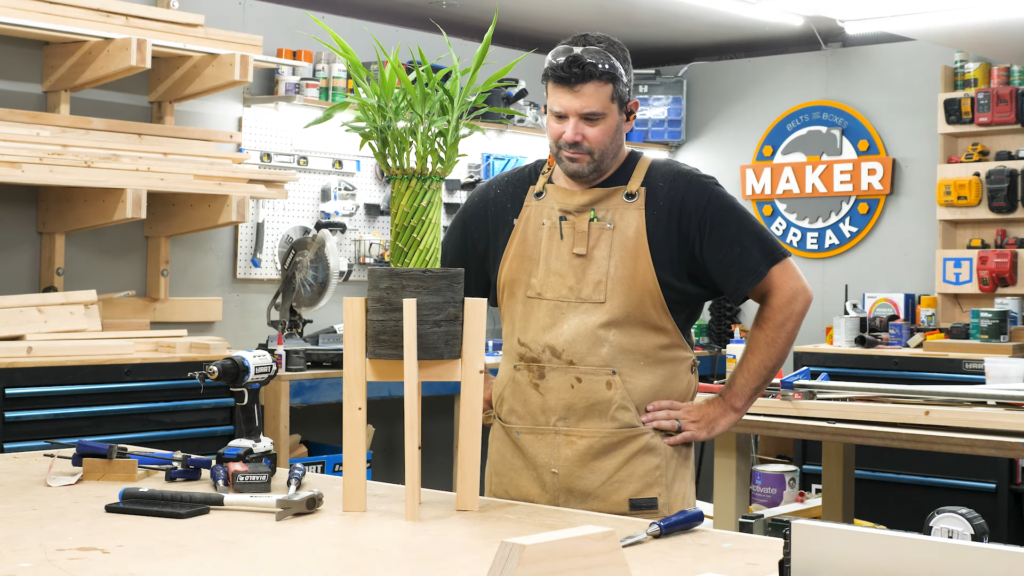
I then took it apart and glued each joint to make sure this never came apart. I sanded the bottom of the legs until it sat flat, and that was it! My wife found a spot for it on our fireplace, and we added yet another natural pine piece to the living room.
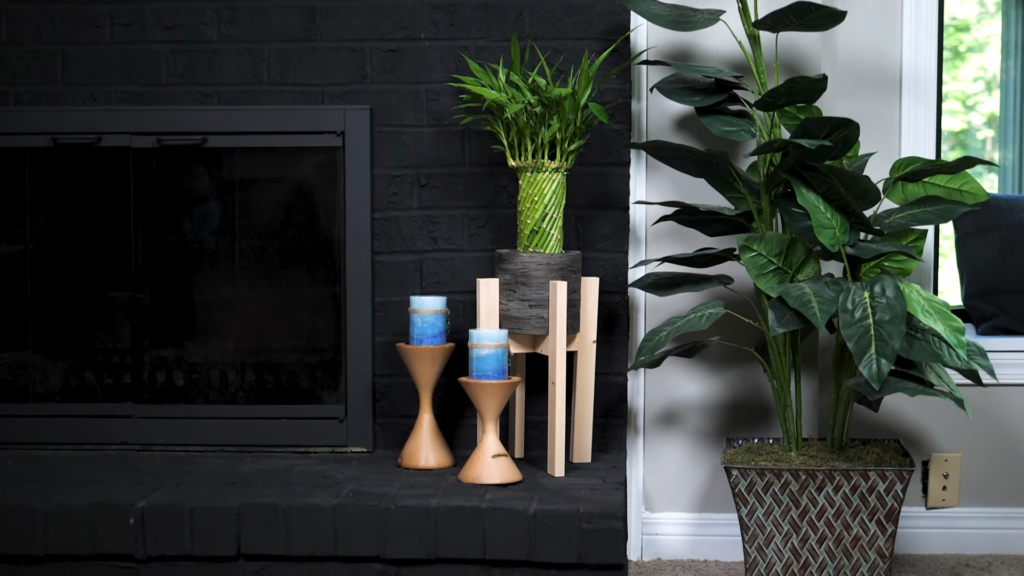
I’ll be honest. Making these mortise and tenon joints was insanely satisfying to do. I highly recommend you give it a shot.
Our Favorite Maker Videos from This Week!
Mark from Gunflint Designs got some beautiful cherry slabs from his grandfather and built a gorgeous dining room table with said heirloom material for his family to use every day.
April Wilkerson promised us all she’d replace that busted up tree house at her new shop, and this week she delivered! Look at that thing! She uses some custom tree house hardware, which I had no idea even existed, and make a tree house worthy of a tree party.
And over on Instagram I found this industrial end table with a beautiful top and metal legs. That is so pretty! I want it!
Thank you HART for sponsoring this episode! We couldn’t do it without you.
I do not even know how I ended up here, but I thought this post was good. I do not know who you are but certainly you are going to a famous blogger if you are not already Cheers!